
Banana bread is the epitome of comfort food with its moist, dense texture and inviting aroma.
I first fell in love with this simple banana bread recipe during a busy week when I needed a quick and satisfying snack.
The sweet aroma of ripe bananas combined with subtle notes of vanilla instantly fills the kitchen with warmth.
It’s the perfect solution for overripe bananas and a delightful treat for busy days.
With just one bowl and minimal fuss, this recipe delivers a delicious loaf that everyone will enjoy.
The History and Cultural Significance
• Simple Banana Bread traces its origins to the United States during the Great Depression, where it was originally created as a way to make use of overripe bananas.
• The dish evolved over decades as baking powder became a common ingredient, eventually becoming the beloved version we know today.
• In American culture, this dish traditionally appears at breakfast tables and potlucks, symbolizing homey comfort and resourcefulness.
• While many variations exist across different regions, the authentic version maintains a moist crumb and a robust banana flavor that sets it apart from imitations.
Recommended Products

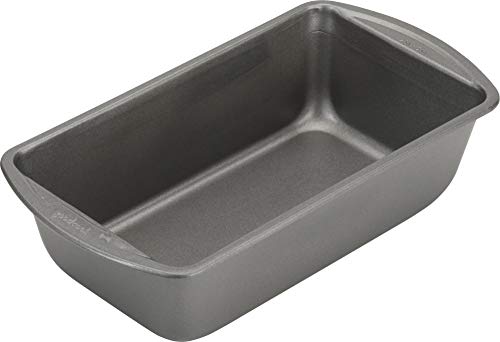
STANDARD 9 x 5-INCH LOAF PANS: This loaf pan set of two is perfect for baking meatloaf, sweet or savory breads, thick cakes or brownies, smaller portions of lasagnas or casseroles, and more. Enjoy a perfect bake every time with these versatile bread pans

DURABLE CONSTRUCTION: This heavy-gauge steel bread loaf pan resists warping and heats evenly to brown beautifully while providing years of baking enjoyment
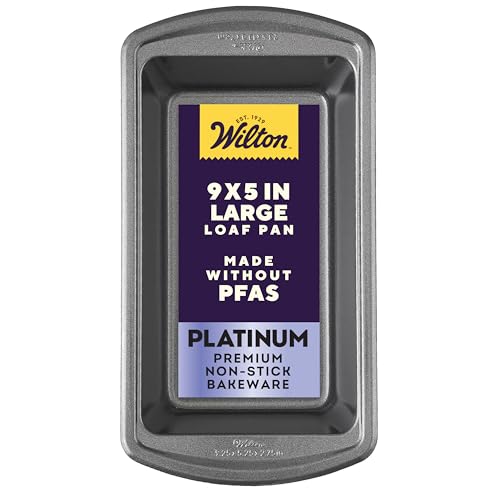
Premium Loaf Pan: Designed for professional bakers, the Platinum Non-Stick Loaf Pan offers precision, premium performance; it measures 9.25 inches long, 5.25 inches wide, and 2.75 inches deep
Recipe Overview
Recommended Products

8 Quart – Oversized mixing bowl ideal for batters, sauces and more

Premium Quality With Thicker Steel - This top rated set of mixing bowls is made using thicker than industry standard stainless steel that can last a lifetime, yet they still remain lightweight and easy to handle.

Multi-purpose Mixing Bowls: Elevate your home kitchen and experience culinary precision with 5 stainless steel mixing bowls with lids set, includes a 1.5 qt, 2 qt, 3 qt, 4 qt and 5 qt bowl, each with a tight fit lid to seal in liquids and odors. Whatever the task you'll find the perfect size for every task.
Nutritional Information (per serving)
Recommended Products

12" EXTENDED SAFETY DESIGN: Tailored for deep stockpots and Dutch ovens! This 2-piece set of round wooden cooking spoons features a nearly 12-inch extended handle, keeping your hands safely away from hot steam and boiling splatters. Whether deep-frying or simmering large stews, these extra-long wooden mixing spoons provide the perfect protective distance. Safely tackle high-heat tasks with these reliable wood spoons for cooking, your ultimate wooden spoons for cooking
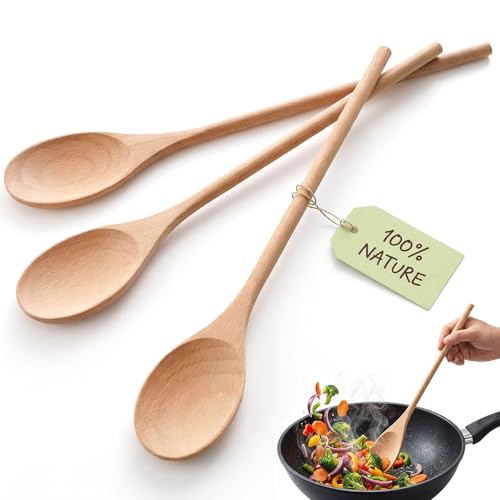
12" EXTENDED SAFETY DESIGN: Tailored for deep stockpots and Dutch ovens! This 3-piece set of round wooden cooking spoons features a nearly 12-inch extended handle, keeping your hands safely away from hot steam and boiling splatters. Whether deep-frying or simmering large stews, these extra-long wooden mixing spoons provide the perfect protective distance. Safely tackle high-heat tasks with these reliable wood spoons for cooking, your ultimate wooden spoons for cooking

7.9" SLIM DESIGN FOR DEEP JARS: Ditch wide spoons that get stuck! This 9-piece set of wooden spoons is 7.9" long with a narrow head to reach deep jar bottoms. Perfect as a precise honey spoon or to scrape out jam. Use them as versatile stirring spoons for spices. More than a wooden honey spoon, they double as elegant wood spoons for eating and handy wooden spoons for cooking. The ultimate honey spoons to solve your pantry struggles
Essential Equipment Guide
Mixing Bowl: A large mixing bowl is essential for combining all the ingredients in a single vessel, ensuring minimal cleanup. Opt for a bowl with a non-slip base for added stability.
Loaf Pan: A 9×5 inch loaf pan is crucial for achieving the traditional shape and even cooking. If unavailable, muffin tins can be used for banana muffins, but adjust the cooking time accordingly.
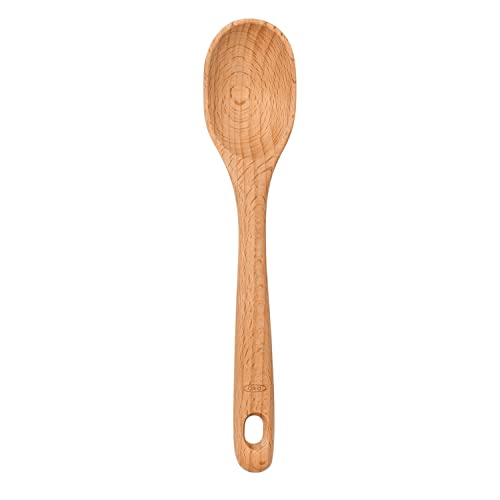
Wooden Spoon: A sturdy wooden spoon is perfect for mixing the batter without overworking it, which can lead to toughness. Silicone spatulas can also work well as an alternative.
Recommended Products

The best gluten-free banana bread you'll ever bake, in an easy-to-use mix. We believe in food that's delicious and that you can feel good about, so we start with the best ingredients around to make a moist, superior banana bread with the classic flavor you love


Ingredients
Recommended Products

CLASSIC BANANA BREAD MADE EASY: Enjoy moist, bakery-style banana bread at home with Chiquita’s easy baking mix—great for beginners and busy bakers.


🍌 CLASSIC BANANA BREAD FLAVOR Made with Chiquita banana flavor for rich, moist, bakery-style banana bread everyone will love
For the Base
|
| Amount | Ingredient | Notes |
|---|---|---|
| 1 1/2 cups | all-purpose flour | sifted for light texture |
| 1 teaspoon | baking soda | helps the loaf rise |
| 1/4 teaspoon | salt | enhances flavor |
Wet Ingredients
| Amount | Ingredient | Notes |
|---|---|---|
| 1/2 cup | unsalted butter | melted, adds richness |
| 3/4 cup | brown sugar | adds sweetness and moisture |
| 2 large | eggs | room temperature, for binding |
| 1 teaspoon | vanilla extract | for aroma |
| 2 cups | mashed bananas | overripe, for flavor |


Preparation Methods
Mashing Bananas: Use a fork or potato masher to mash the bananas until smooth, leaving a few small lumps for texture. This step is critical for distributing banana flavor evenly throughout the loaf.
Combining Ingredients: Add dry ingredients to wet ingredients gently, folding the mixture with a wooden spoon. This technique prevents over-mixing, which can lead to a dense loaf.
Batter Resting: Allow the batter to rest for a few minutes before baking. Resting enhances the banana flavor by allowing the ingredients to meld together.
Recommended Products
STANDARD 9 x 5-INCH LOAF PAN: This standard loaf pan is perfect for baking meatloaf, sweet or savory breads, thick cakes or brownies, smaller portions of lasagnas or casseroles, and more. Enjoy the perfect bake every time with this versatile bread pan

Size Measures 9.8 x 5.2 x 2.67 inches. The package includes 30 aluminum foil take-out pan and 30 board lids.

QUALITY STANDARD-SIZED LOAF PAN: Ensures a perfect bake every time for your favorite bread and cake recipes
Step 1: Preheat the Oven

Preheat your oven to 350°F (175°C).
Ensure the oven rack is in the middle position for even baking.
This temperature ensures a golden-brown crust while the inside remains moist.
Proper preheating is crucial for consistent results.
Recommended Products
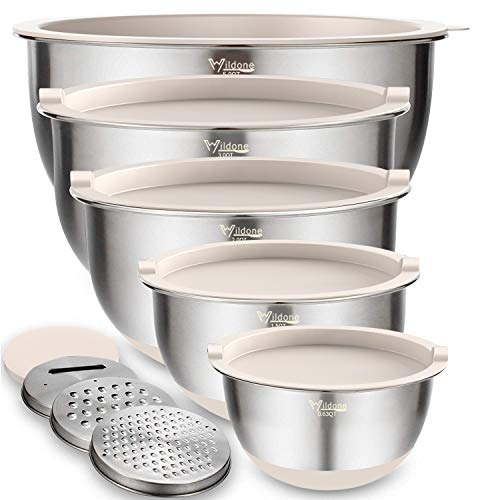
ALL INCLUSIVE: Wildone mixing bowls set contains 5 piece stainless steel mixing bowls 5, 3, 2, 1.5, 0.63 QT, which allows to measure, mix, pour, and serve food all in one kitchen tool! They come with BPA free lids, 3 grater attachments, silicone non-slip bottoms and measurement marks

The Ultimate Stainless Steel Mixing Bowl Set for Daily Prep - This 5-piece set is your go-to for everyday cooking, from tossing salads to whipping up pancakes. Made with premium stainless steel, each bowl includes inner measurement markings and a non-slip base to simplify every step. Whether you're prepping family meals or organizing a busy kitchen, this set helps you stay efficient, tidy, and stress-free.

Comprehensive Size Variety: Elevate your culinary skills with our complete set of 5 stainless steel mixing bowls with lids set, ranging in size from 1.5 to 5 quarts. Whatever the task you'll find the perfect size for every task.


Step 2: Prepare the Loaf Pan
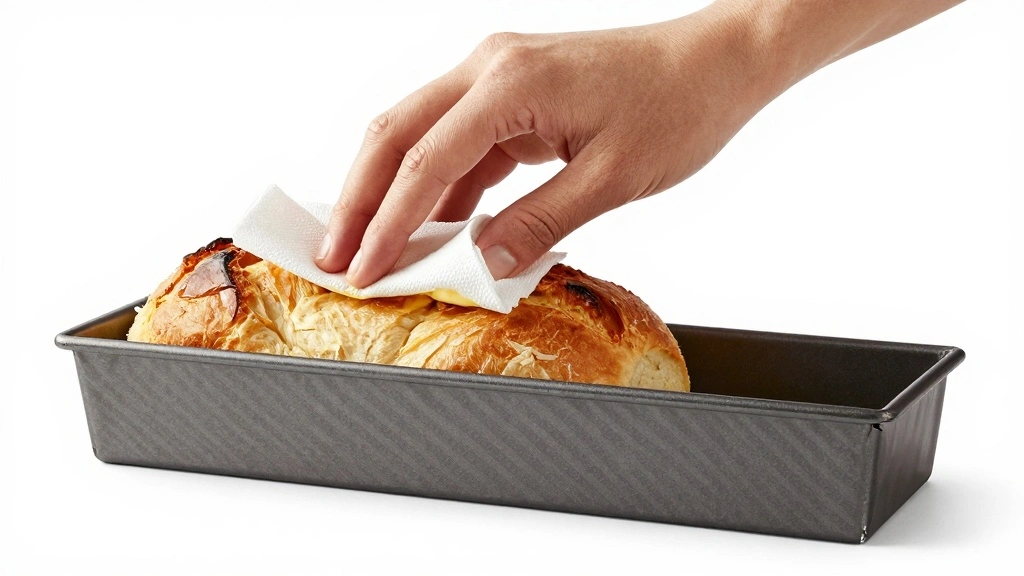
Grease a 9x5 inch loaf pan with butter or non-stick spray.
Ensure all corners and sides are well-coated to prevent sticking.
Use parchment paper for easy release if desired.
This step ensures the loaf comes out cleanly after baking.
Recommended Products

18-inch long and 2-inch wide huge spatula - crawfish paddle stirrer. Perfect for mixing and stirring in large boiling pots, steamer pots, jambalaya pots, and outdoor cookers. Made in Ukraine (Europe)

TRADITIONAL BEECHWOOD DESIGN: The TableCraft W16 wooden spoon is crafted from high-quality beechwood, providing a durable and classic tool ideal for all your kitchen needs
8.125 in/20.6 cm by 1.75 in/4.4 cm
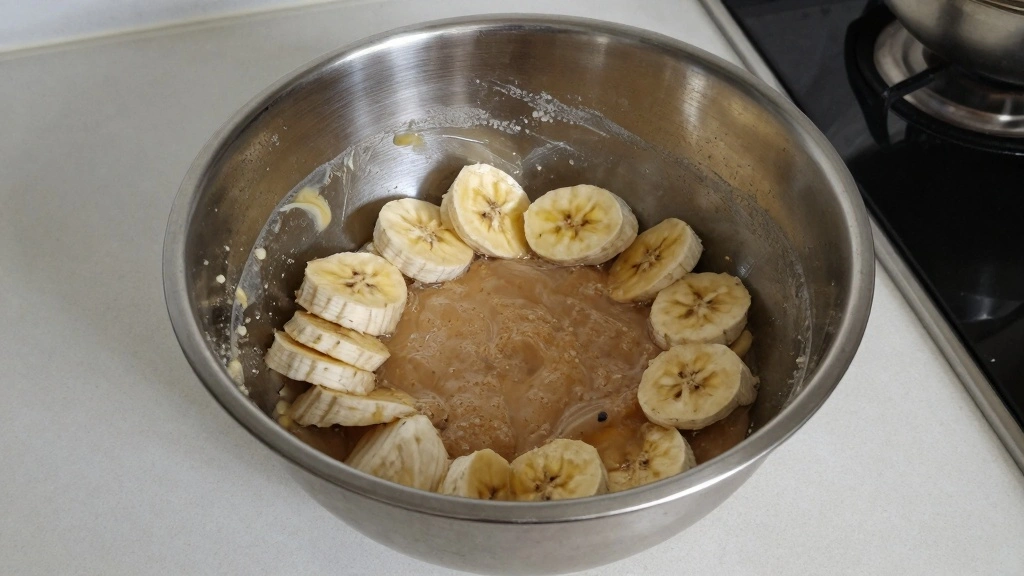
Step 3: Mash the Bananas
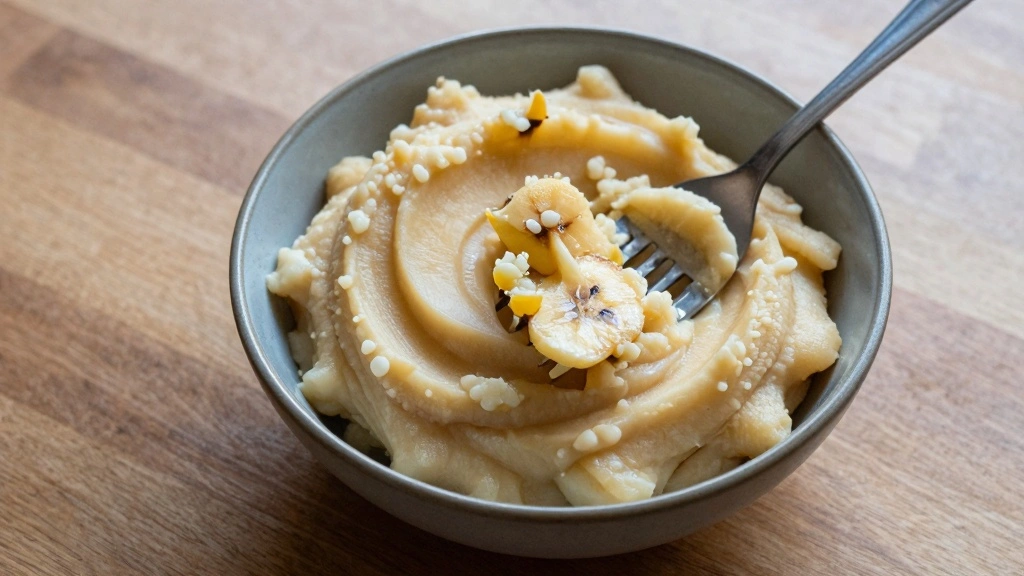
Peel and place the bananas in a large mixing bowl.
Use a fork or potato masher to mash them until mostly smooth.
Leave some small lumps for texture.
This step is vital for distributing the banana flavor.
Recommended Products

DURABLE ALUMINUM FOIL LOAF PANS: Made from premium quality aluminum foil, this 1-Pound Aluminum Foil Pan Value Pack from Plasticpro is ecofriendly and recyclable. So don’t worry about cleaning up, just toss them when you’re done!

Receive 1 box of Simple Mills Almond Flour Banana Bread Mix. Real banana flavor from real, actual bananas. Real banana flavor from real, actual bananas. Great for fun and nutritious baking.


Step 4: Combine Wet Ingredients
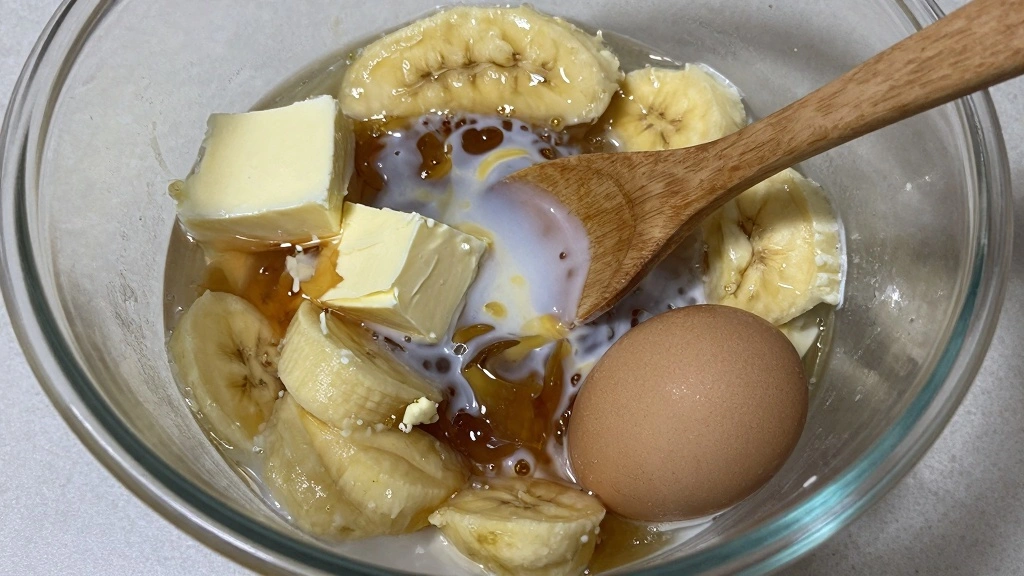
Add melted butter, brown sugar, eggs, and vanilla extract to the mashed bananas.
Mix thoroughly until well combined.
The mixture should appear smooth and homogenous.
This ensures even distribution of flavors.
Recommended Products


Step 5: Add Dry Ingredients
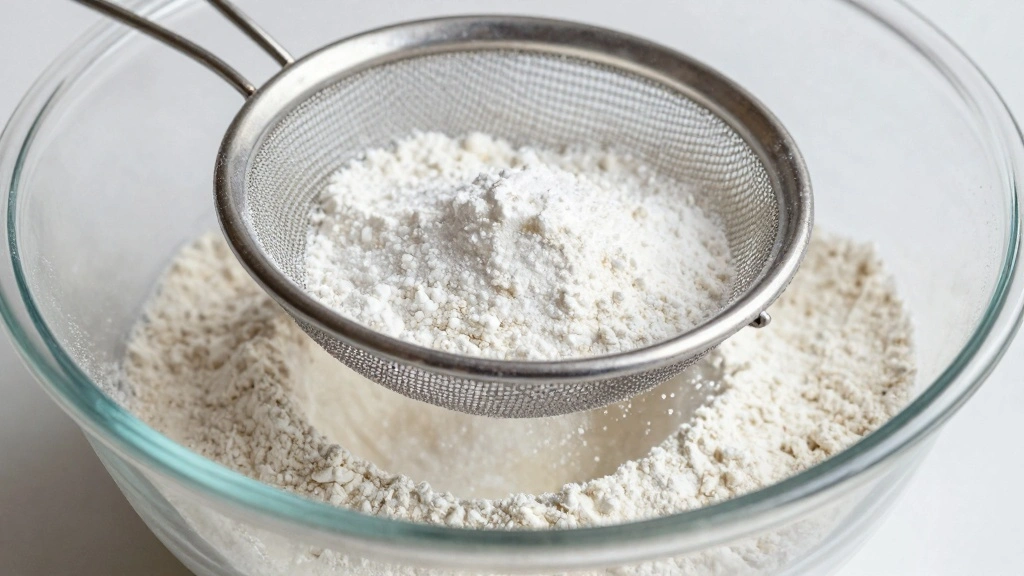
In a separate bowl, sift together flour, baking soda, and salt.
Gradually add the dry ingredients to the wet mixture.
Fold gently with a wooden spoon until just combined.
Over-mixing can lead to a dense loaf.
Step 6: Rest the Batter
Let the batter rest for 5 minutes in the bowl.
This allows the ingredients to meld and enhances the banana flavor.
Resting can also improve the texture of the final loaf.
Patience in this step pays off in flavor.
Step 7: Transfer to Loaf Pan
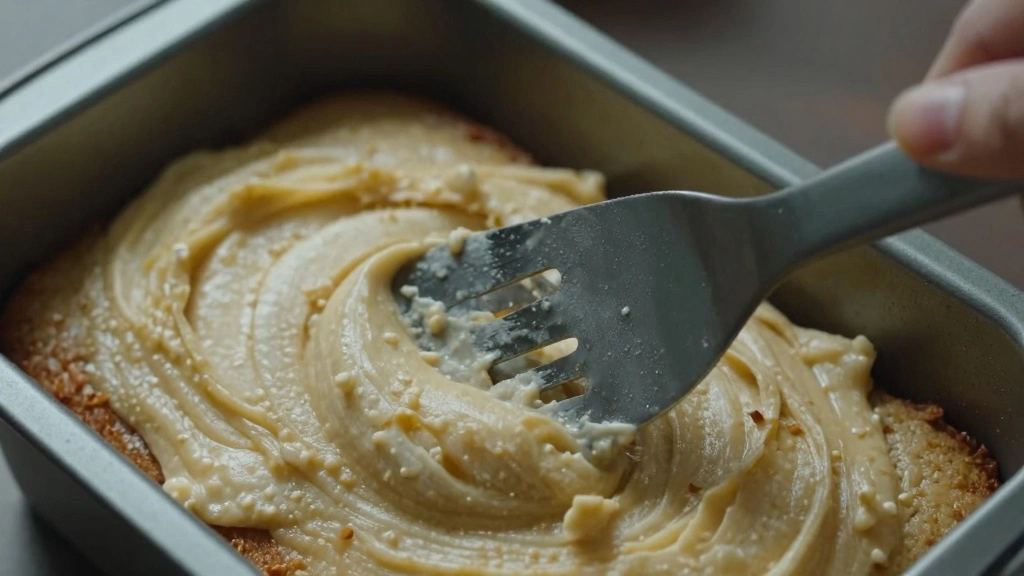
Pour the batter into the prepared loaf pan.
Use a spatula to spread it evenly in the pan.
Ensure batter is level for even baking.
This helps achieve a uniform rise during baking.
Step 8: Bake the Banana Bread
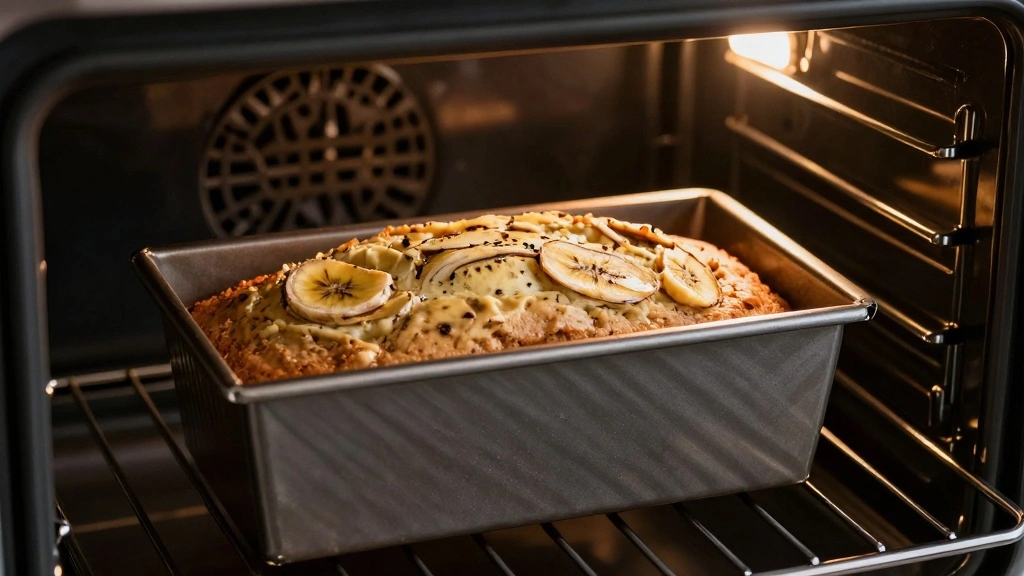
Place the loaf pan in the preheated oven.
Bake for 60 minutes, checking at the 50-minute mark.
A toothpick inserted in the center should come out clean.
Avoid opening the oven door frequently.
Step 9: Cool the Bread
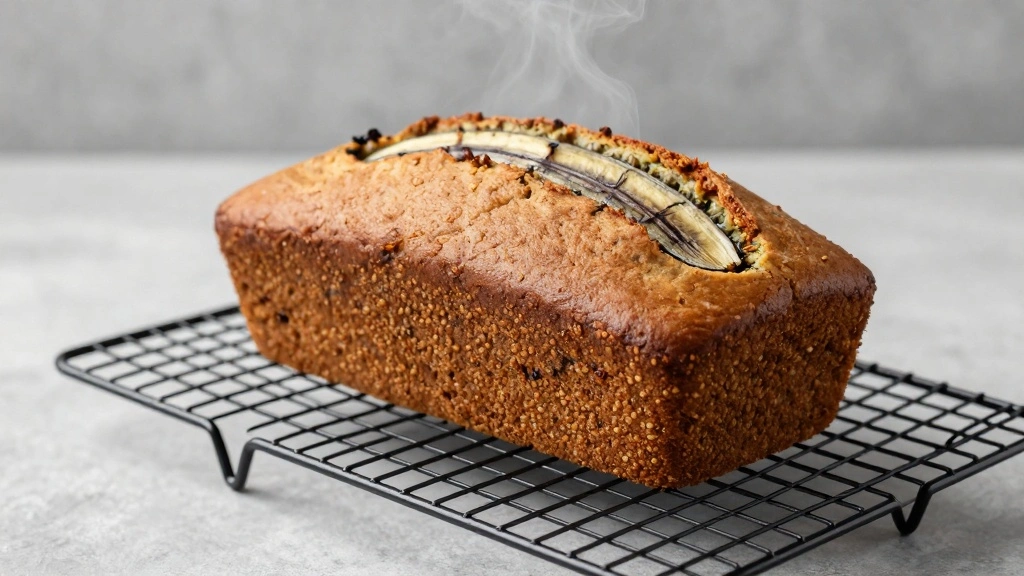
Remove the pan from the oven and let it cool for 10 minutes.
Carefully transfer the bread to a wire rack.
Allow it to cool completely before slicing.
This prevents the bread from becoming soggy.
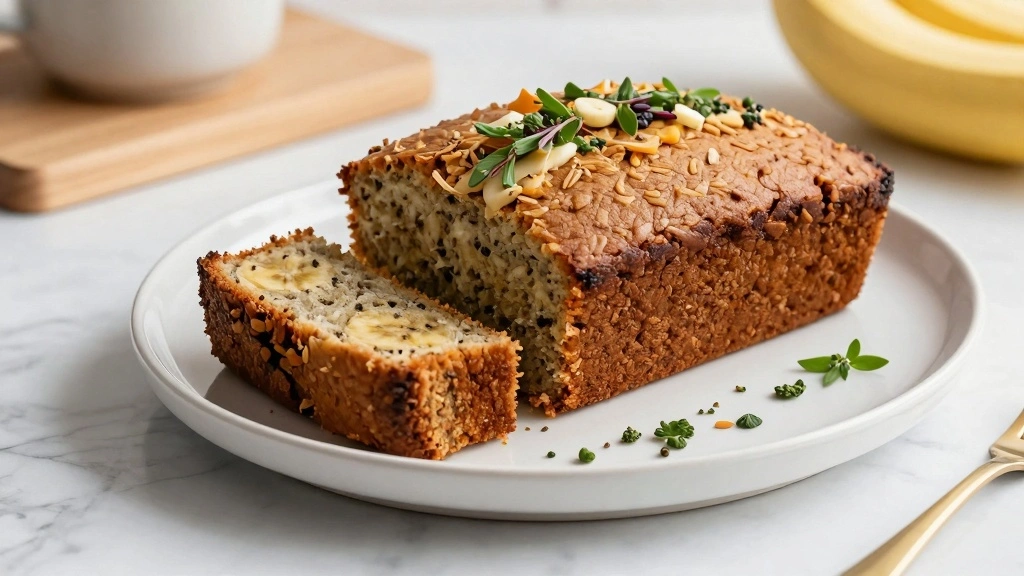
Step 10: Slice and Serve
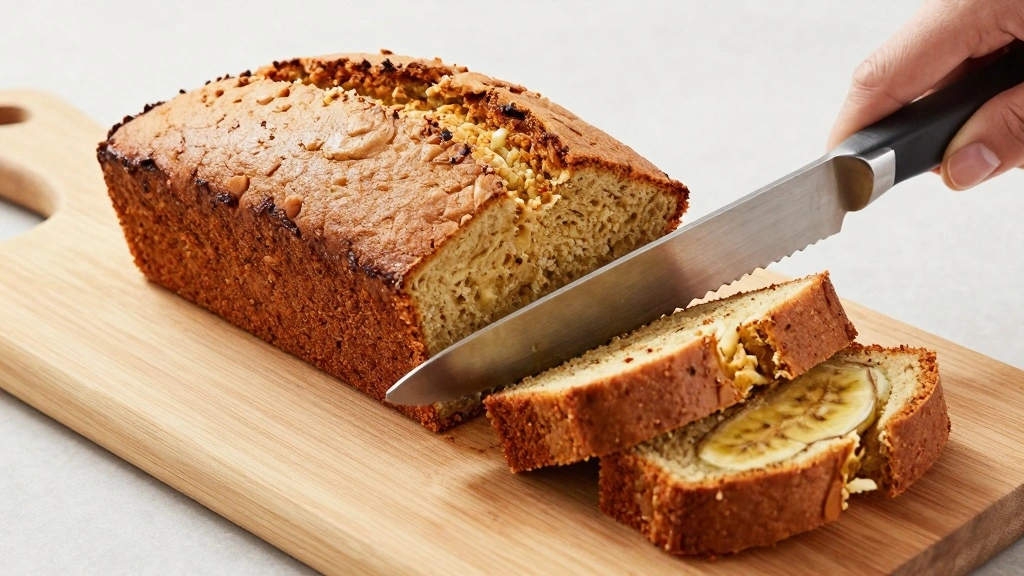
Once cooled, use a serrated knife to slice the bread.
Serve with butter or a drizzle of honey if desired.
The bread should have a moist crumb and rich banana flavor.
Enjoy your homemade banana bread.
Critical Timing and Temperature Guide
Batter Mixing: Mix the batter just until the dry ingredients are incorporated. Over-mixing can lead to a dense and tough loaf, so stop as soon as no flour streaks are visible.
Baking Time: Bake at 350°F (175°C) for 60 minutes. The top should be golden brown, and a toothpick inserted in the center should come out clean. Avoid opening the oven door too often, as this can cause the bread to collapse.
Cooling: Allow the bread to cool in the pan for 10 minutes before transferring to a wire rack. This helps prevent the bread from breaking apart and becoming soggy.
Pro Tips for Simple Banana Bread
• Ingredient Selection: Choose overripe bananas with brown spots for the sweetest and most intense banana flavor.
• Preparation Secret: Rest the batter for a few minutes before baking to allow the flavors to meld, enhancing the overall taste.
• Temperature Management: Ensure all ingredients, especially eggs, are at room temperature for better blending and consistent texture.
• Texture Enhancement: Avoid over-mixing the batter once the flour is added to keep the loaf light and tender.
• Flavor Layering: Add a teaspoon of cinnamon or a handful of chocolate chips to the batter for an extra depth of flavor.
• Make-Ahead Strategies: Prepare the dry ingredients in advance and store them in an airtight container. When ready to bake, simply add the wet ingredients.
• Restaurant-Quality Finishing Touches: Brush the top of the loaf with melted butter after baking for a glossy finish.
• Equipment Optimization: If using a glass loaf pan, reduce the baking temperature by 25°F to prevent over-browning.
Troubleshooting Common Issues
• Texture Too Dense: This can be caused by over-mixing the batter. Mix until just combined and stop as soon as no flour streaks are visible.
• Loaf Didn't Rise: Ensure your baking soda is fresh and the oven is properly preheated. Stale baking soda and uneven temperatures can affect the rise.
• Cracked Top: This is normal for banana bread, but if excessive, it might be due to too high oven temperature. Check your oven's accuracy with an oven thermometer.
• Undercooked Center: If the center is undercooked, try extending the baking time by 5-10 minutes and check for doneness with a toothpick.
• Soggy Bottom: This may occur if the bread is not cooled properly. Always cool on a wire rack to allow air circulation.
Variations and Regional Differences
• Hawaiian Banana Bread: Includes macadamia nuts and shredded coconut for a tropical twist, reflecting the island flavors of Hawaii.
• Southern Pecan Banana Bread: Features chopped pecans and a touch of cinnamon, showcasing Southern U.S. influences with a nutty aroma.
• Vegan Banana Bread: Uses flaxseed meal and almond milk as egg and dairy substitutes, catering to plant-based diets.
• Chocolate Chip Banana Bread: Incorporates semi-sweet chocolate chips for a rich, dessert-like variation popular in North America.


Food Science Behind the Recipe
• Leavening Agents: Baking soda reacts with the acidity in bananas to create carbon dioxide, which helps the bread rise and gives it a light texture.
• Maillard Reaction: The browning of the crust is due to the Maillard reaction, where sugars and amino acids in the batter create complex flavors and a golden color.
• Moisture Retention: The bananas and butter contribute to the bread's moistness by retaining moisture during baking, preventing it from drying out.
Frequently Asked Questions
What's the most common mistake people make when preparing banana bread? Over-mixing the batter is a frequent error that can lead to a dense loaf.
Can I freeze banana bread? Yes, wrap it tightly in plastic wrap and freeze for up to 3 months.
How can I make the bread more moist? Ensure the use of overripe bananas and consider adding an extra tablespoon of butter.
Why did my banana bread sink in the middle? This can occur if the bread was undercooked or the oven door was opened too early.
Can I substitute whole wheat flour? Yes, but it may alter the texture and density; try half whole wheat and half all-purpose flour.
Is it possible to make banana bread without eggs? Yes, use flaxseed meal mixed with water or applesauce as an egg substitute.
Should I use salted or unsalted butter? Unsalted butter is recommended for better control over the saltiness of the bread.
How do I know when the banana bread is done? A toothpick inserted into the center should come out clean with a few moist crumbs.
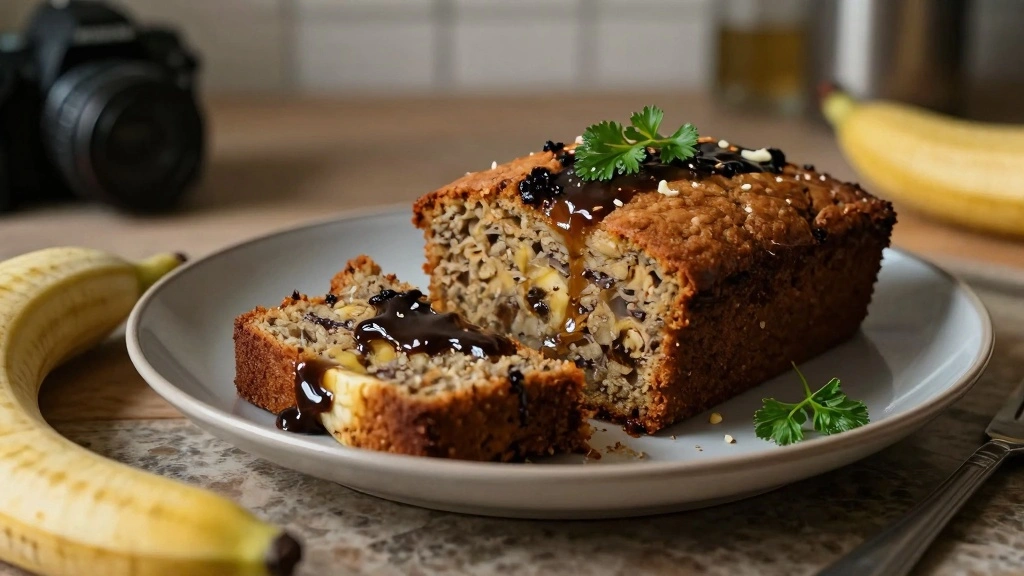
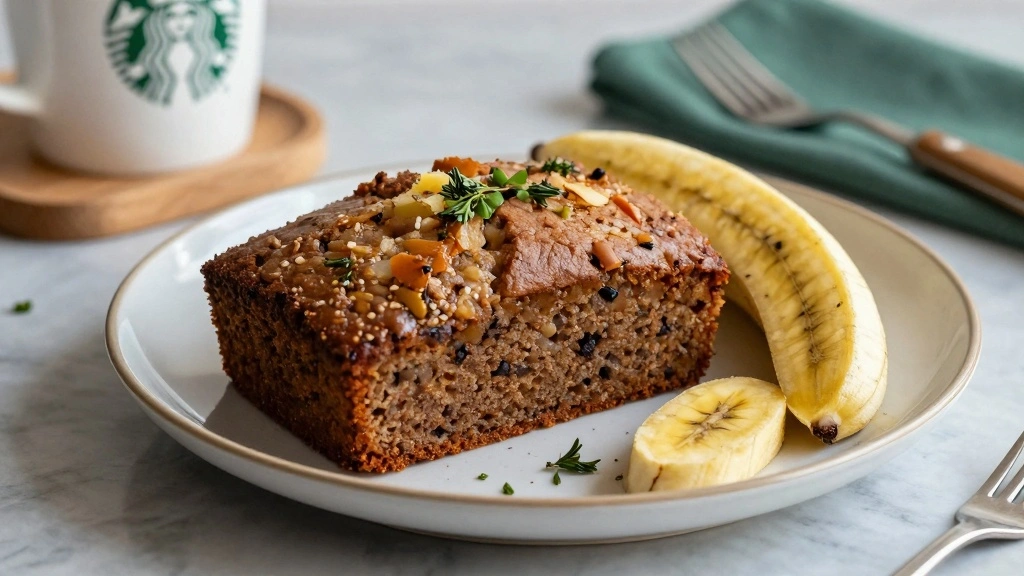
Serving and Presentation Guide
• Traditional Presentation: Serve sliced on a wooden board with a pat of butter on the side and a sprig of mint for color.
• Breakfast Delight: Accompany slices with a dollop of Greek yogurt and a drizzle of honey for a hearty breakfast.
• Afternoon Tea: Pair with a cup of Earl Grey tea and a side of fresh berries for an elegant afternoon snack.
• Dessert Style: Serve warm with a scoop of vanilla ice cream and a sprinkle of cinnamon for a comforting dessert.
Conclusion
There's nothing quite like the aroma of freshly baked banana bread wafting through your home.
This simple one-bowl recipe is perfect for busy days when you crave something homemade and delicious.
Try this recipe today and discover why banana bread is a timeless favorite that brings joy with every bite.