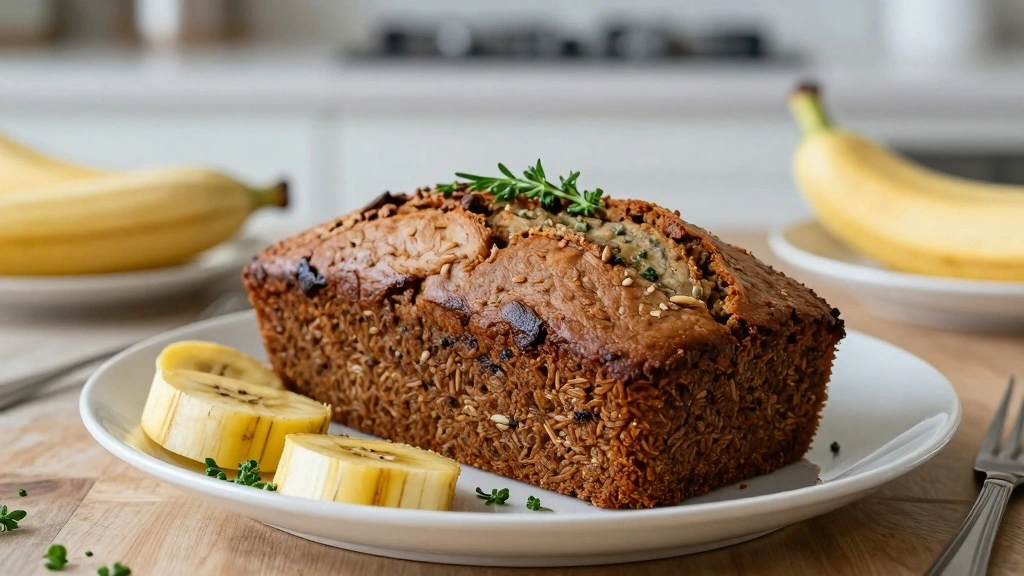

There’s something undeniably comforting about a slice of banana bread, its warm, moist texture complemented by the sweet aroma of ripe bananas.
Starbucks has long been known for its delectable version, a café favorite that pairs perfectly with a cup of coffee.
Bringing those familiar flavors into your kitchen is easier than you might think, with a straightforward recipe that captures the essence of the original.
Whether you’re a seasoned baker or a novice, this copycat recipe will guide you to create a loaf that’s just as delightful as the one you enjoy at the coffee shop.
Perfect for a cozy afternoon snack or as a thoughtful homemade gift, this banana bread is bound to become a staple in your baking repertoire.
The History and Cultural Significance
• Starbucks Banana Bread traces its origins to the early 2000s, where it was originally created by Starbucks chefs in Seattle.
• The dish evolved over decades as it adapted to changing tastes, eventually becoming the beloved version we know today with a perfect balance of sweetness and texture.
• In American culture, banana bread traditionally appears at family gatherings and brunches, symbolizing warmth and hospitality.
• While many variations exist across different regions, the authentic version maintains its dense, moist texture that sets it apart from imitations.
Recommended Products

8 x 4-INCH LOAF BAKING PAN: Great for baking meatloaf, sweet or savory breads, thick cakes or brownies, smaller portions of lasagnas or casseroles, and more for the perfect bake every time

【Size & Package】 (Confirm The Sizes Before Purchasing) Package includes 4 pack Bread Loaf Pan with Top Outer dimensions of 7.9”x3.9” and Top Inner dimensions of 7.4”x3.5”. Perfect size and capable of making multiple breads at the same time. Ideal for baking delicious bread, meatloaf, sandwiches, cakes, lasagna, and more in the oven.


Recipe Overview
Recommended Products

Set of 2 rectangular-shaped loaf pans; ideal for baking bread, pound cake, meatloaf, and more

SET OF TWO 8 x 4-INCH MEDIUM LOAF PANS: Great for baking meatloaf, sweet or savory breads, thick cakes or brownies, smaller portions of lasagnas or casseroles, and more for the perfect bake every time

DURABLE DESIGN: This four-cake tin is constructed of hardy carbon steel with our exclusive premium non-stick coating. No more scraping and scratching!
Nutritional Information (per serving)
Recommended Products

DURABLE STAINLESS STEEL CONSTRUCTION: Made from high‑quality stainless steel. Built for everyday mixing, whisking, and food prep without retaining flavors.

Stainless steel durable construction for years of work

Sold over 50,000+ - Since its launch, more than 50,000 + families have chosen to purchase our mixing bowls. Everything we need is included in the mixing bowls set!
Essential Equipment Guide
Loaf Pan: A quality loaf pan is essential for even baking and achieving the classic loaf shape. Non-stick options are preferred, but greasing a metal or glass pan works too. Look for sturdy pans with good heat distribution.
Mixing Bowls: Use a set of mixing bowls for combining dry and wet ingredients separately. Stainless steel or glass bowls are ideal as they don’t retain odors and are easy to clean.
Whisk: A whisk is crucial for smoothly blending wet ingredients, ensuring an even batter. A silicone whisk is a good alternative to metal, avoiding scratches in non-stick surfaces.
Recommended Products

Mrs. Anderson's Baking Nonstick Ball Whisk: weighted silicone ball tips fan out to cover more surface area for faster, more thorough whisking; follows curved bowls and pan bottoms for smoother mixing, reduced splashing, and consistent results in both small and large bowls for everyday and holiday cooking for single recipes and batch cooking

HIGH-QUALITY MATERIAL: Made of high-quality durable stainless steel and highly polished processing methods, no worries of rust. You can use the whisk set for a long time.

Thickened silicone protective cover, stop scratching your cookware : Walfos whisk is made of 1.65 mm reliable stainless steel with wires non scratch coated coated in 0.3mm soft silicone, non-scratch whisks will not damage or scratch any of your pots, pans, bowls, or other dishes while you cook your favorite meals! , not rust, discolor, deform or melt. The ultimate accessory for nonstick coated baking
Ingredients
Recommended Products

FRESH INGREDIENTS, TASTY BANANA BREAD: Bake monkey banana bread with irresistible chocolate icing with this Baketivity baking kit featuring kosher pre-measured dry ingredients expertly crafted in the USA. A shopping list for wet ingredients is also included.

The best gluten-free banana bread you'll ever bake, in an easy-to-use mix. We believe in food that's delicious and that you can feel good about, so we start with the best ingredients around to make a moist, superior banana bread with the classic flavor you love

PAY ATTENTION: THIS PACKAGE CONTAINS FRAGILE GLASS ITEMS AND MAY BE DAMAGED DURING TRANSIT. IF YOU RECEIVE A DAMAGED ITEM, PLEASE CONTACT US FOR A RETURN OR REPLACEMENT, AND WE WILL BE HAPPY TO ASSIST YOU
For the Base
|
| Amount | Ingredient | Notes |
|---|---|---|
| 2 cups | all-purpose flour | sifted for light texture |
| 1 teaspoon | baking soda | helps the bread rise |
| 1/4 teaspoon | salt | enhances flavor |
Wet Ingredients
| Amount | Ingredient | Notes |
|---|---|---|
| 1/2 cup | butter | softened at room temperature |
| 1 cup | sugar | adds sweetness |
| 2 large | eggs | room temperature, binds the ingredients |
| 3 medium | ripe bananas | mashed, adds moisture and flavor |
| 1 teaspoon | vanilla extract | adds depth of flavor |


Preparation Methods
Creaming Butter and Sugar: Creaming involves beating softened butter and sugar together until light and fluffy. This step is crucial for incorporating air into the batter, which helps with the bread's rise and texture. Use a hand mixer on medium speed and ensure both ingredients are at room temperature for best results.
Folding in Flour: Folding is a gentle mixing technique used to combine the flour with the wet ingredients without deflating the batter. Use a spatula to cut through the center of the mixture and fold the batter over itself, rotating the bowl as you go.
Mashing Bananas: Properly mashing bananas is key to achieving the right consistency in banana bread. Use a fork or potato masher to crush ripe bananas until smooth, leaving a few small chunks for texture.
Recommended Products

Value Pack Set: Package includes 4 silicone bread loaf pans, meeting the various baking needs of most people at one time. Rectangular, Pink

Premium Carbon Steel & Even Baking: Crafted with industrial-grade carbon steel, Walooza bread loaf pans distribute heat evenly for golden crusts and fluffy interiors, perfect for banana bread, sourdough, or artisan sandwich loaves. They resist warping at 450°F – ideal for crusty focaccia or daily pound cakes.

Non-Stick Coating - These loaf pans feature a premium non-stick coating that ensures effortless release of your baked goods without sticking or tearing. Whether you’re baking bread, pound cakes, or meatloaf, the non-stick surface of the loaf pan helps maintain the perfect shape of your creations. The non-stick coating of these bread pans for homemade bread also makes cleaning a breeze — simply rinse or wipe with warm, soapy water.
Step 1: Prepare Ingredients
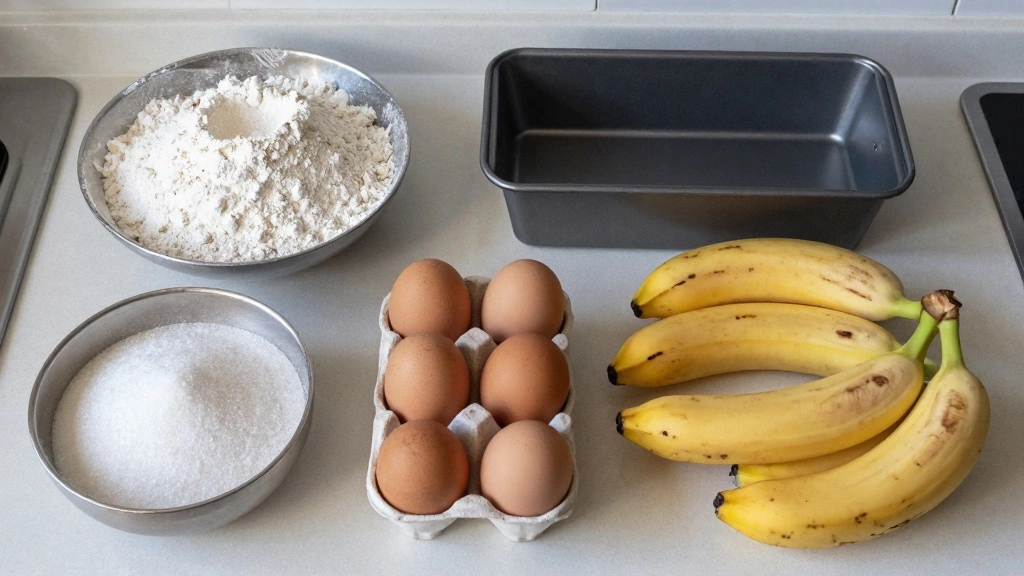
Gather all ingredients and ensure they are measured accurately.
Preheat your oven to 350°F (175°C).
Grease a 9x5-inch loaf pan with butter or non-stick spray.
Set aside the prepared pan.
Recommended Products

Premium Carbon Steel & Advanced Non-Stick Coating: Engineered with heavy-gauge, commercial-grade carbon steel, our mini loaf pans ensure exceptional durability and superior, even heat distribution for perfectly baked goods every time. The industrial-strength, reinforced non-stick coating is PFOA, BPA, and PTFE-free, guaranteeing effortless food release and a hassle-free cleanup. Unlike flimsy alternatives, this pan resists warping under high temperatures (oven-safe up to 450°F/232°C).
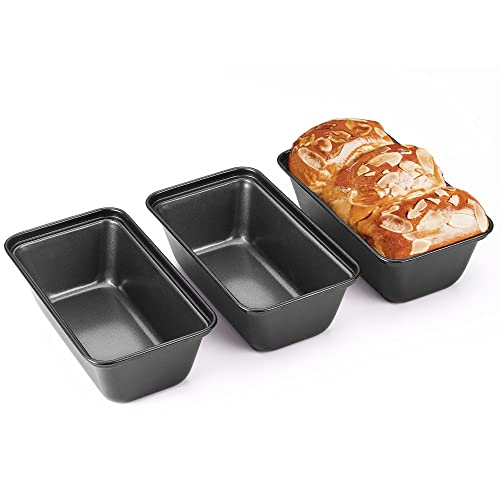
ALL-INCLUSIVE SET - Our super mini bread pan comes with 3 personal external sizes (6*3.3*2in) and Internal sizes (5.75*3*2in) nonstick bread pans to make multiple pieces of bread at once. In addition, this small loaf pan set is compatible for use with pressure cookers, ovens, and air fryers

SET OF TWO 13 x 5-INCH LOAF PANS: Great for baking meatloaf, sweet or savory breads, thick cakes or brownies, smaller portions of lasagnas or casseroles, and more for the perfect bake every time


Step 2: Mix Dry Ingredients
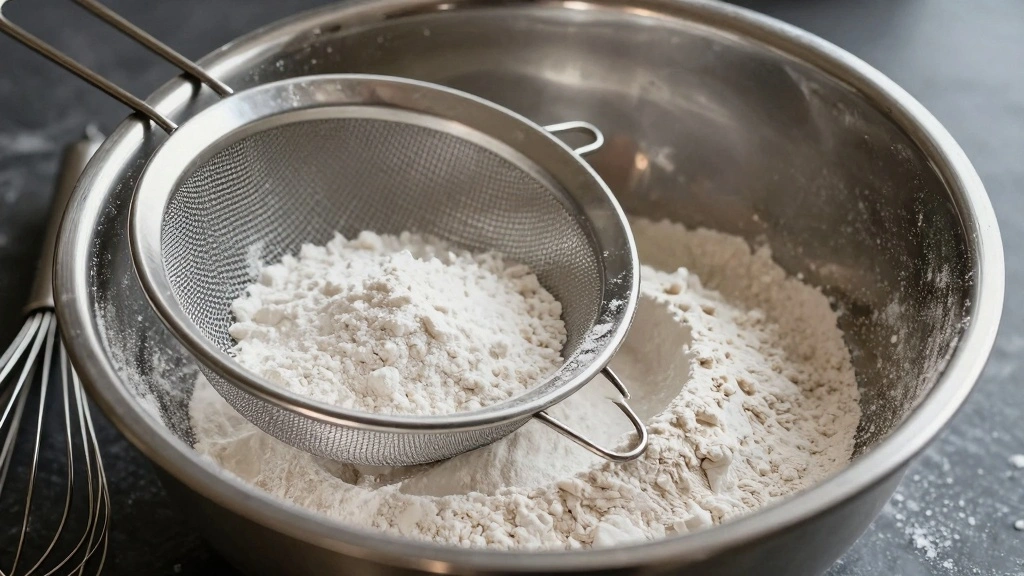
In a medium bowl, sift together the all-purpose flour, baking soda, and salt.
Ensure there are no lumps in the mixture.
Set the dry ingredients aside for later use.
This step helps achieve a smooth batter.
Recommended Products

Premium Quality With Thicker Steel - This top rated set of mixing bowls is made using thicker than industry standard stainless steel that can last a lifetime, yet they still remain lightweight and easy to handle.

SIZED FOR EVERY TASK - With A range of 6 Sizes—½, 1, 2, 3, 4, and 5 quart—metal mixing bowls add versatility and functionality to your kitchen. For all-purpose kitchen workhorses from prepping, mixing, stirring, to kneading dough like a pro

ONE SET - MULTIPLE USES: This stainless steel mixing bowls set of 3 includes 1.5QT, 3QT, and 5QT sizes—perfect as a salad mixing bowl, meal prep bowl, or for everyday kitchen use.
Step 3: Cream Butter and Sugar
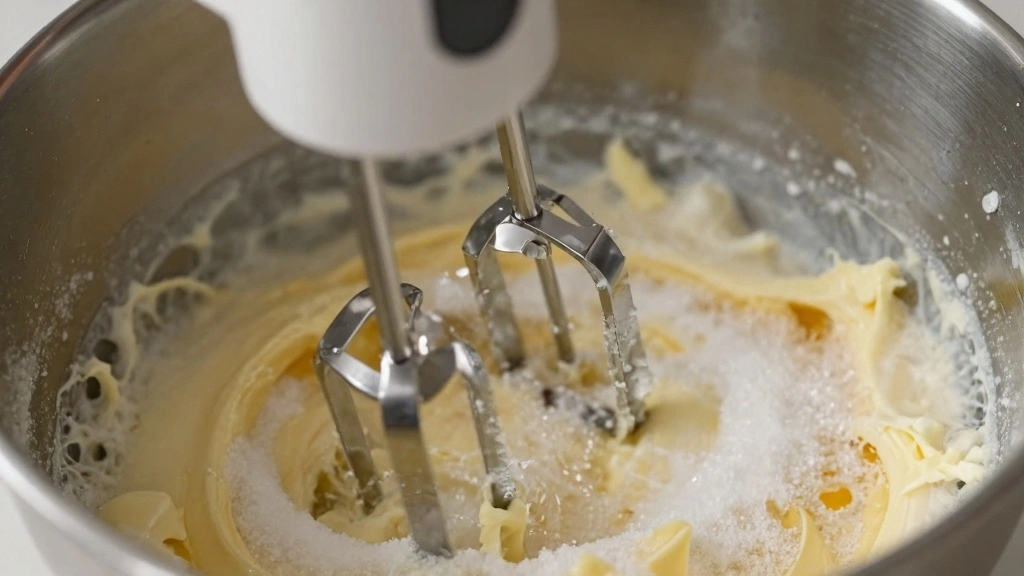
In a large mixing bowl, add the softened butter and sugar.
Using a hand mixer, beat on medium speed until the mixture is light and fluffy.
This process should take about 3 minutes.
Ensure the butter is fully incorporated and no sugar granules remain visible.
Recommended Products

Food-Grade Materials: Our pancake batter dispenser is made from PP and silicone, ensuring safety and durability. The reinforced design withstands repeated squeezing without cracking


Step 4: Add Eggs and Vanilla
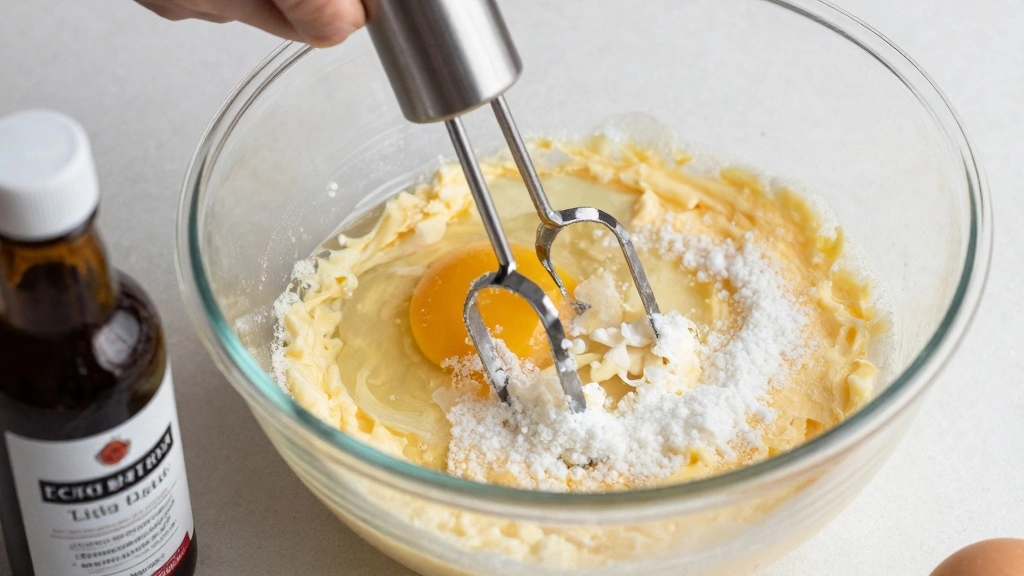
Crack the eggs into the butter-sugar mixture one at a time, beating well after each addition.
Add the vanilla extract to the mixture.
Continue to beat until fully combined, ensuring a smooth texture.
Scrape down the sides of the bowl as needed.
Recommended Products

🍌 CLASSIC BANANA BREAD FLAVOR Made with Chiquita banana flavor for rich, moist, bakery-style banana bread everyone will love
Step 5: Mash Bananas
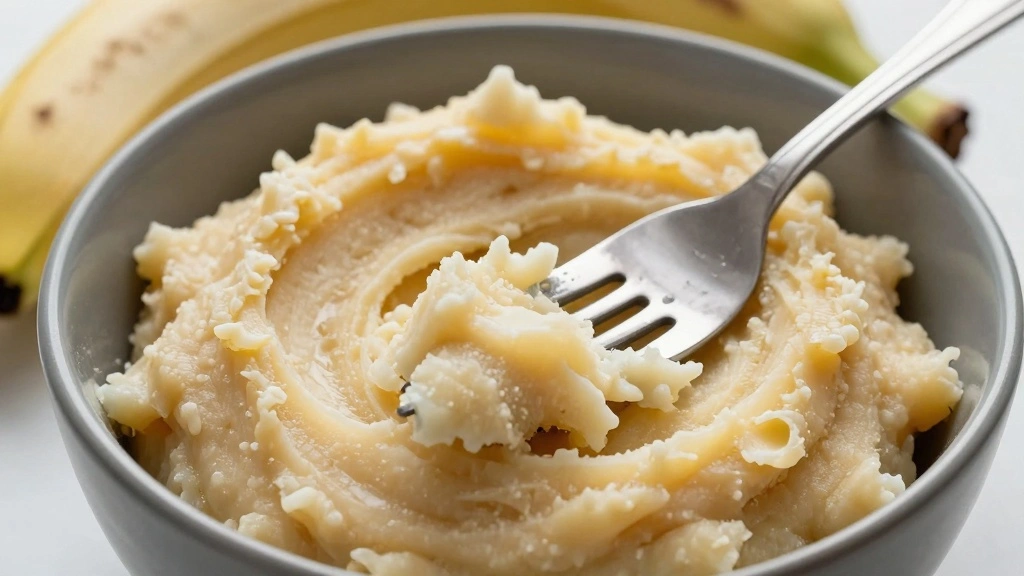
In a separate bowl, mash the ripe bananas using a fork or potato masher.
Aim for a mostly smooth consistency with a few small chunks remaining.
This will add moisture and texture to the bread.
Bananas should be well-ripened for optimal sweetness.
Step 6: Combine Wet Ingredients
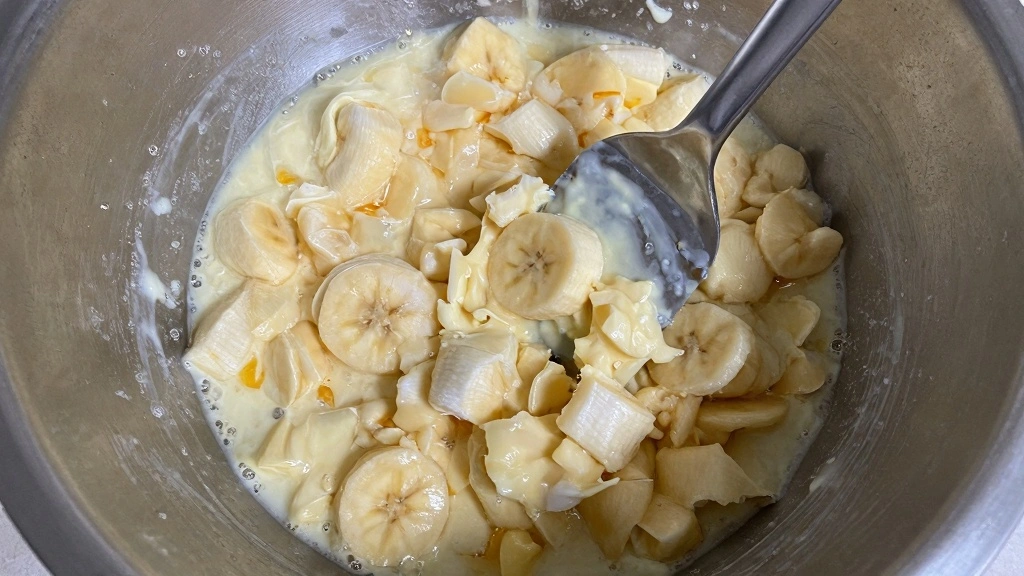
Add the mashed bananas to the egg mixture.
Stir well to integrate the bananas evenly.
Ensure a uniform mixture with no large banana chunks.
This will create a consistent batter base.
Step 7: Fold in Dry Ingredients

Gradually add the dry ingredients to the wet mixture.
Use a spatula to fold the flour mixture in gently, avoiding over-mixing.
Stop folding once the flour is just incorporated.
The batter should remain light and airy.
Step 8: Pour and Bake
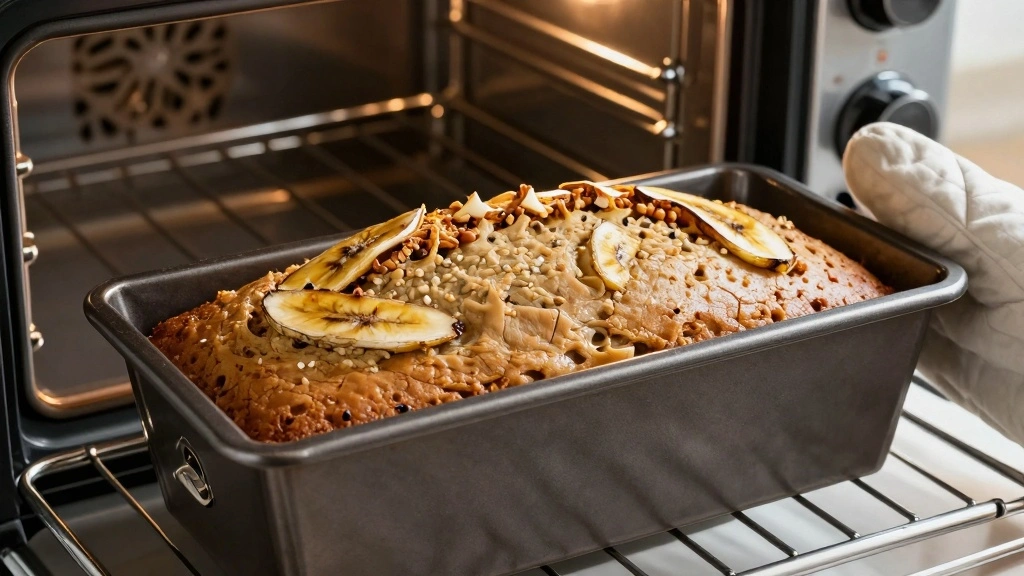
Pour the batter into the prepared loaf pan, smoothing the top with a spatula.
Place the pan in the preheated oven on the center rack.
Bake for 60 minutes, or until a toothpick inserted in the center comes out clean.
The top should be golden brown and slightly domed.
Critical Timing and Temperature Guide
Mixing: Mix butter and sugar for 3 minutes until fluffy; overmixing can lead to a dense texture. Ensure all ingredients are at room temperature for consistent results.
Baking: Bake at 350°F (175°C) for 60 minutes. Avoid opening the oven door frequently to prevent sinking. Check doneness with a toothpick.
Cooling: Allow the bread to cool in the pan for 10 minutes before transferring to a wire rack. This prevents the loaf from breaking apart.
Pro Tips for Starbucks Banana Bread
• Ingredient Selection: Choose ripe bananas with brown spots for optimal sweetness and moisture. Avoid overly ripe or mushy bananas.
• Preparation Secret: Let the batter rest for 10 minutes before baking to enhance the banana flavor.
• Temperature Management: Ensure all ingredients are at room temperature, particularly butter and eggs, for smooth mixing and even baking.
• Texture Enhancement: Don't overmix the batter after adding the flour; this keeps the bread tender.
• Flavor Layering: Add a pinch of cinnamon or nutmeg for a subtle spice that complements the banana.
• Make-Ahead Strategies: Prepare the dry and wet ingredients separately and combine just before baking to maintain freshness.
• Restaurant-Quality Finishing Touches: Sprinkle chopped walnuts on top before baking for added texture and flavor.
• Equipment Optimization: Use a silicone loaf pan for easier removal and consistent baking results.
Troubleshooting Common Issues
• Dense Texture: Often caused by overmixing the batter or using cold ingredients. Ensure all ingredients are room temperature and fold gently.
• Underbaked Center: Check oven temperature accuracy with an oven thermometer. Ensure the toothpick test is done in the center.
• Dry Bread: Overbaking can lead to dryness. Check for doneness 5 minutes before the recommended time.
• Sunken Loaf: Opening the oven door too early or moving the pan during baking can cause sinking. Avoid disturbing the loaf until 50 minutes in.
• Uneven Rise: Ensure baking soda is fresh and evenly incorporated in the dry ingredients.
• Crumbly Texture: Incorrect flour measurement or not enough binding agents like eggs can cause crumbliness. Measure flour by spooning into a cup and leveling off.
Variations and Regional Differences
• American Classic: This version includes chopped walnuts or pecans for added crunch and uses brown sugar for a deeper flavor.
• Hawaiian Style: Incorporates shredded coconut and macadamia nuts, offering a tropical twist with added moisture and sweetness.
• Gluten-Free Variation: Uses almond flour and a 1:1 gluten-free baking flour mix to cater to dietary restrictions while maintaining texture.
• Vegan Option: Replace eggs with flaxseed meal mixed with water, and use coconut oil instead of butter for a plant-based loaf.
Food Science Behind the Recipe
• Leavening with Baking Soda: The reaction of baking soda with the acidity in ripe bananas creates carbon dioxide, helping the bread rise and become fluffy.
• Creaming Technique: Incorporating air into the butter and sugar mixture is crucial for a light crumb, as it creates small air pockets that expand during baking.
• Moisture Retention: Bananas contribute to the bread's moisture due to their high water content, preventing the loaf from drying out.
Frequently Asked Questions
What's the most common mistake people make when preparing banana bread? Overmixing the batter, which can result in a dense and heavy loaf.
Can I freeze the banana bread? Yes, wrap the cooled loaf tightly in plastic wrap and foil before freezing for up to 3 months.
How can I make the bread extra moist? Ensure bananas are ripe and use room temperature ingredients to help retain moisture.
What's the best way to store banana bread? Store in an airtight container at room temperature for up to 3 days or refrigerate for up to a week.
Can I add other ingredients like chocolate chips? Absolutely, fold in 1/2 cup of chocolate chips or nuts before baking for added flavor.
Why did my bread turn out too sweet? Ensure accurate sugar measurement; reducing sugar or using less ripe bananas can adjust sweetness.
Can I use whole wheat flour? Yes, but note it will result in a denser texture. Consider using half all-purpose and half whole wheat for balance.
Is it necessary to sift the flour? Sifting helps aerate the flour, contributing to a lighter texture but isn't strictly necessary if flour is pre-sifted.
Serving and Presentation Guide
• Traditional Presentation: Serve slices on a wooden board with a side of softened butter for spreading.
• Café Style: Plate with a dollop of whipped cream and a sprinkle of cinnamon for a coffee shop experience.
• Brunch Buffet: Display slices on a tiered serving tray alongside fresh fruit and yogurt for a complete brunch spread.
• Gift Presentation: Wrap individual slices in parchment paper and tie with twine for a rustic, homemade gift.
Conclusion
Embrace the comfort of homemade banana bread with this copycat recipe that brings Starbucks' beloved loaf into your own kitchen.
With its perfect balance of sweetness and moist texture, this banana bread is sure to become a favorite.
Whether shared with friends or enjoyed solo, each slice is a testament to the simple pleasures of home baking.