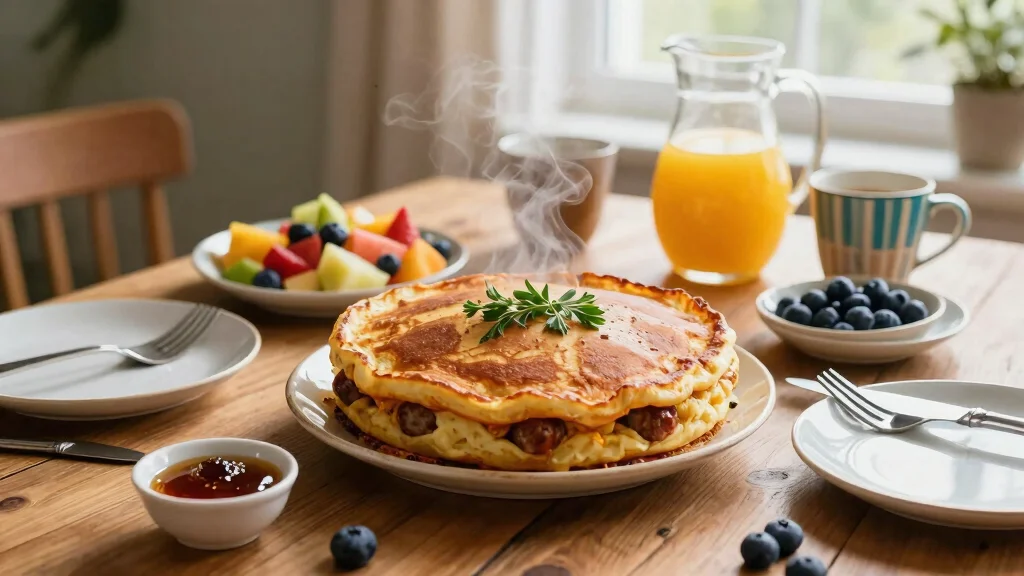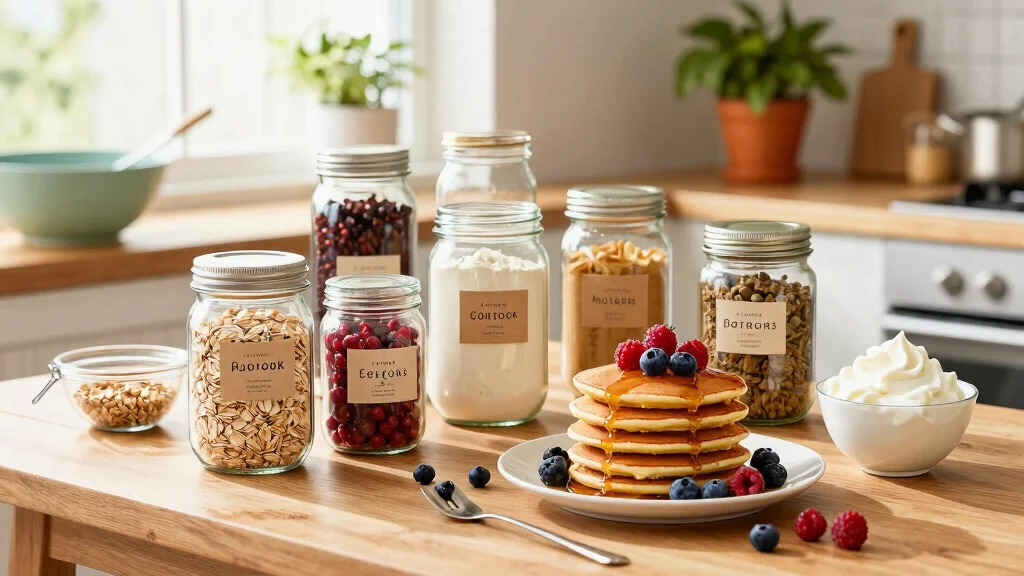

There’s something inherently comforting about a stack of fluffy pancakes, especially when they’re reminiscent of those served at a classic diner like Cracker Barrel.
These pancakes boast a perfect balance of sweetness and buttery richness, creating a nostalgic flavor that takes you back to leisurely Sunday brunches.
In my quest to recreate that iconic taste, I stumbled upon a method that captures the essence of Cracker Barrel’s beloved pancakes.
Whether you’re a pancake enthusiast or simply looking to bring a touch of diner charm to your breakfast table, this recipe offers an authentic experience with minimal fuss.
The History and Cultural Significance
• Cracker Barrel Pancake traces its origins to the southern United States, where it was originally created by home cooks using simple, accessible ingredients.
• The dish evolved over decades as diners and restaurants like Cracker Barrel refined the recipe, eventually becoming the beloved version we know today.
• In American culture, this dish traditionally appears at family breakfasts and brunches, symbolizing warmth and togetherness.
• While many variations exist across different regions, the authentic version maintains a fluffy, golden-brown exterior that sets it apart from imitations.
Recommended Products

EXTRA-LARGE COOKING SURFACE: The 10 x 20 inch indoor grill provides plenty of space to cook up big batches for a crowd or a complete meal.
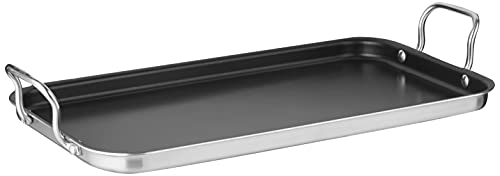
EXCEPTIONAL DESIGN: Professional Triple Ply Construction features a core of pure aluminum and a brushed stainless exterior. Heat Surround Technology allows for even heat distribution along the bottom and sidewalls of the cookware.

[High-Quality Non-Stick Granite Coating] Crafted from eco-friendly nonstick granite material. Completely free from PFOS and PFOA, our egg frying pan guarantees a safe and healthier cooking experience.


Recipe Overview
Recommended Products

Makes whipping up a warm batch of pancakes a cinch
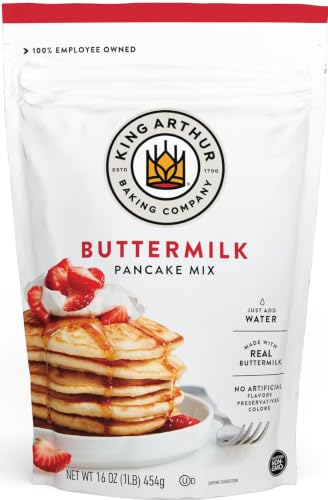
This 16 oz pancake mix makes twenty-two 4" pancakes and includes directions to make 6, 12, or 22 pancakes or waffles; to make delicious pancakes, just add water.
365 by Whole Foods Market products give you that dance-down-the-aisles feeling, virtual aisles too!
Nutritional Information (per serving)
Recommended Products

The fastest, easiest way to make smooth batters for pancakes, waffles, crepes, and more. Simply add ingredients, toss in the BlenderBall, and shake; Winner of Good Housekeeping's 2021 Kitchen Gear Awards "Sweet Indulgences" - November 2021

The fastest, easiest way to make smooth batters for pancakes, waffles, crepes, and more. Simply add ingredients, toss in the BlenderBall, and shake; Winner of Good Housekeeping's 2021 Kitchen Gear Awards "Sweet Indulgences" - November 2021

Food-Grade Materials – Our pancake batter dispenser is made from PP and silicone, ensuring safety and durability. The reinforced design withstands repeated squeezing without cracking


Essential Equipment Guide
Non-stick skillet or griddle: A non-stick surface is crucial for cooking pancakes evenly and preventing sticking. Alternatives like cast iron can work if well-seasoned. Look for even heat distribution when selecting.
Whisk: A whisk ensures a smooth batter without lumps, crucial for fluffy pancakes. A fork can be a substitute, but a whisk is more efficient. Choose one with comfortable grip and flexible wires.
Measuring cups and spoons: Precision in measuring ingredients ensures consistency in the batter. While any set can work, opt for those with clear, readable markings.
Recommended Products

PERFECT DESIGNED TO LAST A LIFETIME: Our measuring cups and spoons are all made out of one piece of metal so the handles will never bend or break off. We upgraded the material to rust resistant & durable 18/0 stainless steel and thickened the cup body to avoid cracking, easy to clean and dishwasher safe.

[Multiple Sizes]: Including 5 Measuring cups (1/8, 1/4, 1/3 , 1/2 , 1 cup), 5 Measuring spoons (1/4, 1/2 , 1 tsp, 1/2, 1 tbsp). Meet All Your Needs On Cooking And Baking.

[Multiple Sizes]: Including 5 Measuring cups (1/8, 1/4, 1/3 , 1/2 , 1 cup), 5 Measuring spoons (1/4, 1/2 , 1 tsp, 1/2, 1 tbsp). Meet All Your Needs On Cooking And Baking


Ingredients
Recommended Products

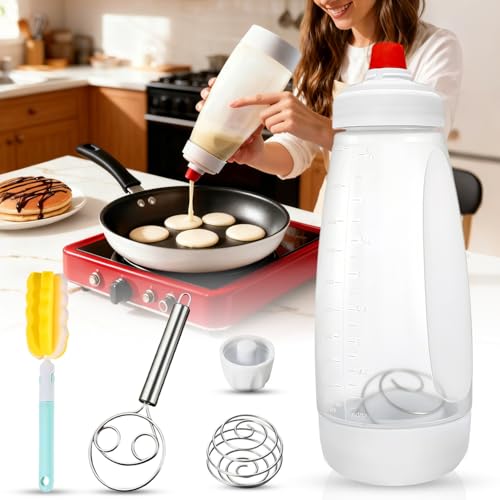
Make Delicious Meals Quickly:This pancake mix bottle features a metal mixing ball that combines mixing and dispensing functions.Simply shake the bottle to mix the batter thoroughly.The graduated lines on the bottle make it easy to add the right amount of water,making it easy to whip up delicious meals for your family in minutes.
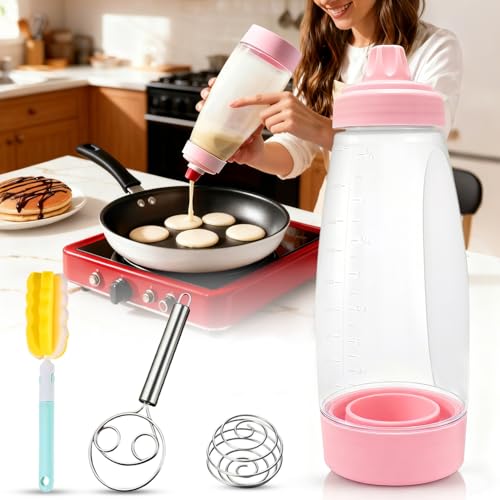
Festive Kitchen Must Have:Surprise your loved ones with this Pancake Batter Dispenser Kit. With a 1000ml Pancake Mix Bottle, whisk, and brush, it’s a thoughtful Housewarming Gift for joyful mornings together
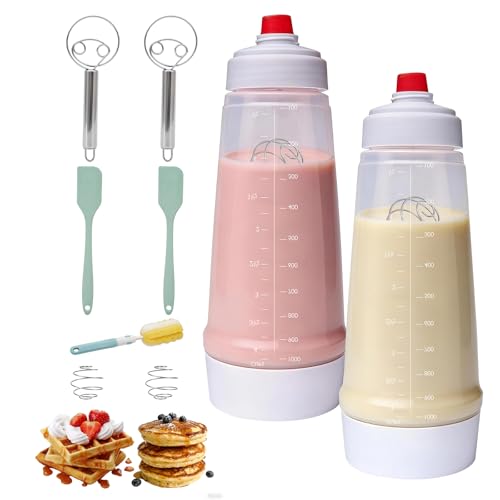
【Batter Dispenser Set with 7 Accessories】: The Set includes: Pancake Batter Dispenser x 2, Wire Whisk Ball x 2, Silicone Spatula x 2, Danish Dough Whisk x 2, Bottle Cleaning Brush x 1. The various accessories matched perfectly meet your various needs during baking. The ideal 4.5 cup capacity allows you to make mouth watering dishes for you and your family in just a few minutes. The batter dispenser bottle can be used for pancakes, crepes, cupcakes, waffles, muffins, and other sweets.
For the Pancakes
|
| Amount | Ingredient | Notes |
|---|---|---|
| 2 cups | all-purpose flour | provides structure |
| 2 tablespoons | granulated sugar | adds sweetness |
| 2 teaspoons | baking powder | leavening agent for fluffiness |
| 1 teaspoon | baking soda | enhances rise |
| 1/2 teaspoon | salt | enhances flavor |
| 2 large | eggs | binds ingredients |
| 2 cups | buttermilk | adds tangy richness |
| 1/4 cup | unsalted butter | melted, adds moisture and flavor |


Preparation Methods
Proper Mixing Technique: Gently folding wet ingredients into dry is crucial to avoid overmixing, which can make pancakes tough. Stir until just combined for a tender texture.
Batter Resting: Allowing the batter to rest for a few minutes before cooking lets gluten relax, resulting in fluffier pancakes. This step is key to achieving an airy texture.
Controlled Heat Management: Cooking pancakes at medium heat is essential for even cooking and a golden-brown crust. Too hot or too cold, and the pancakes won't cook properly.
Recommended Products

Swiss Non-Stick Coating - Swiss ILAG nonstick granite coating. Free of Intentionally Added PFOA. Smokeless, safe & healthy. Cooking with little oil for healthy diet.

EXTRA-LARGE COOKING SURFACE: This 22-inch electric griddle offers an expansive cooking area, perfect for preparing meals for the entire family. The XL griddle ensures you have plenty of space to cook multiple items at once

Non-stick interior for easy cooking and easy clean up


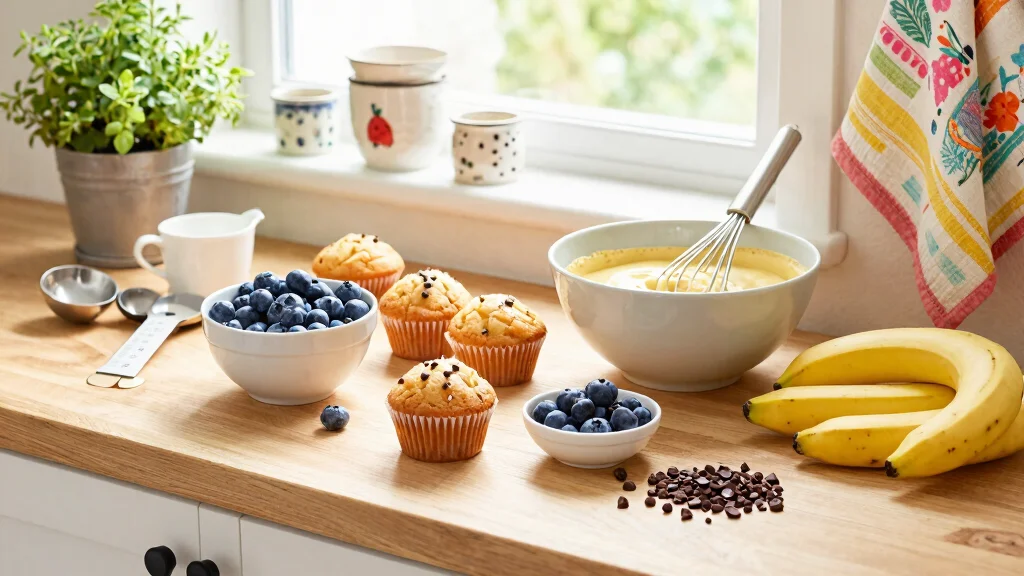
Step 1: Gather Ingredients
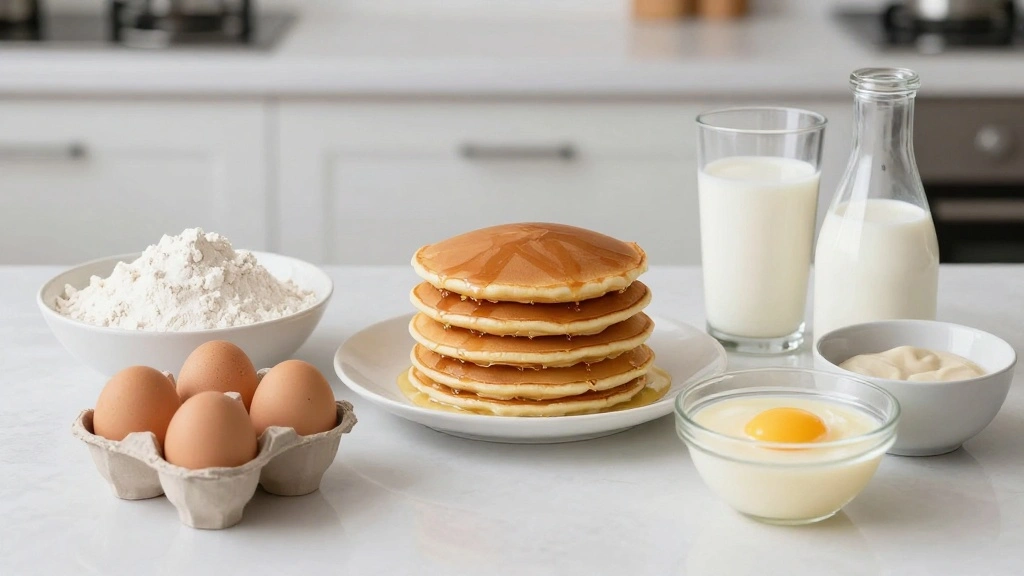
Begin by assembling all necessary ingredients to ensure a smooth cooking process.
Measure out each ingredient precisely to maintain consistency in the batter.
Arrange ingredients on the countertop in the order they will be used.
Double-check that all items, including eggs and butter, are at room temperature.
Recommended Products

PANCAKE MIX: Pancake mix that makes fluffy, mouth-watering pancakes, waffles and more

PANCAKE MIX: Make fluffy, mouthwatering buttermilk pancakes a part of breakfast, brunch, and beyond; It's the perfect pantry staple


Step 2: Mix Dry Ingredients
In a large bowl, combine the flour, sugar, baking powder, baking soda, and salt.
Use a whisk to blend the dry ingredients thoroughly, breaking up any lumps.
Ensure the mixture is uniform in color and texture.
This step is crucial for even leavening and flavor distribution.
Recommended Products

Food-Grade Materials: Our pancake batter dispenser is made from PP and silicone, ensuring safety and durability. The reinforced design withstands repeated squeezing without cracking

【 High Quality Batter Dispenser 】: Please note: The bottle is a container for mixing rather than storing the batter,the pancake Batter Dispenser bottle is made of food-grade PP and silicone materials, healthy, safe and reusable, and can withstand repeated squeezing. can withstand repeated compression and is not easily broken

Effortless Pancake Perfection: Our batter dispenser makes cooking quick and foolproof—simply fill, squeeze, and create uniform pancakes, crepes, or cookies in seconds. The wide-mouth design allows easy pouring, while the built-in measurement lines ensure perfect batter consistency every time


Step 3: Prepare Wet Ingredients
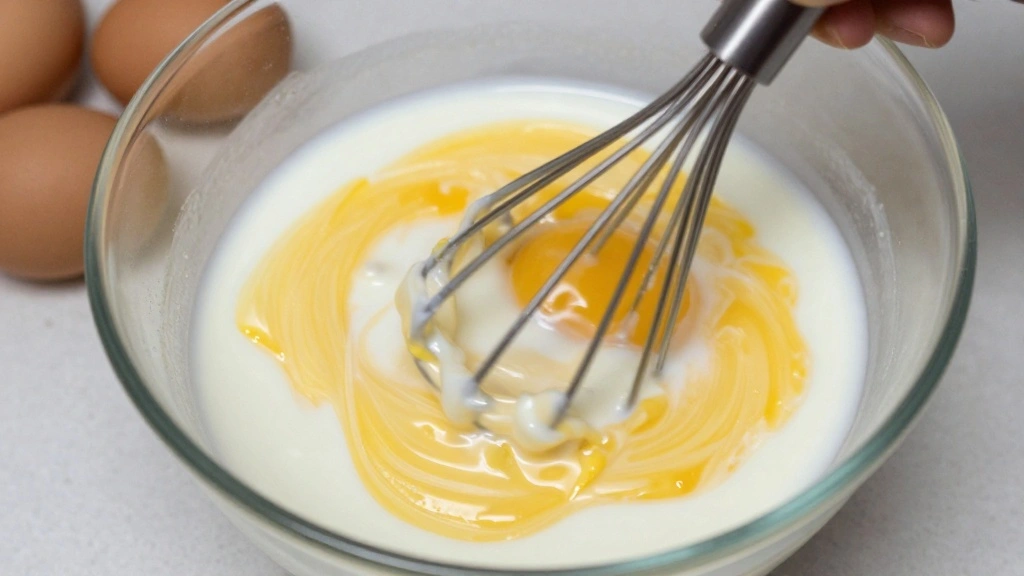
In a separate bowl, beat the eggs until they are well mixed and slightly frothy.
Add the buttermilk and melted butter to the eggs, whisking to combine.
Ensure the wet mixture is smooth and fully integrated.
This step helps incorporate air, contributing to fluffy pancakes.
Recommended Products

[Multiple Sizes]: Including 5 Measuring cups (1/8, 1/4, 1/3 , 1/2 , 1 cup), 5 Measuring spoons (1/4, 1/2 , 1 tsp, 1/2, 1 tbsp). Meet All Your Needs On Cooking And Baking

【PERFECT DESIGNED TO LAST A LIFETIME】: Our measuring cups and spoons are all made out of one piece of metal so the handles will never bend or break off. We upgraded the material to rust resistant & durable 18/0 stainless steel and thickened the cup body to avoid cracking, easy to clean and dishwasher safe.

Measuring cups and spoons set:16 pieces of high-quality magnetic stainless steel measuring cups and spoons set, including 7 measuring cups, 8 measuring spoons and 1 plus leveler. This set of magnetic measuring cups and spoons is made of 304 high-quality stainless steel and food grade silicone, sturdy and long-lasting, so you don't have to worry about them rusting or bending. This multi-size measuring cup and spoon set allows you to accurately measure dry ingredients and liquids when cooking or baking.


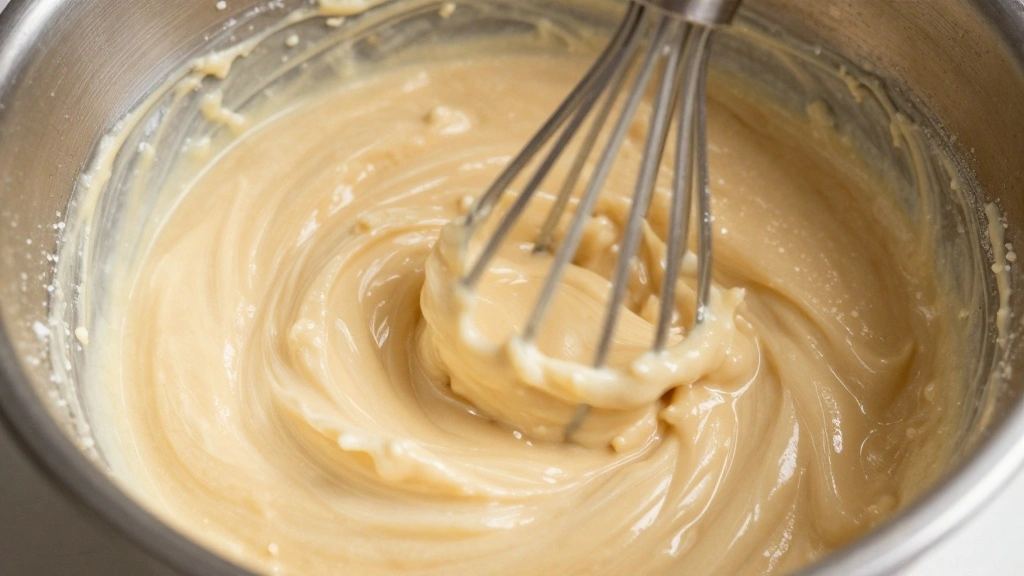
Step 4: Combine Wet and Dry Ingredients
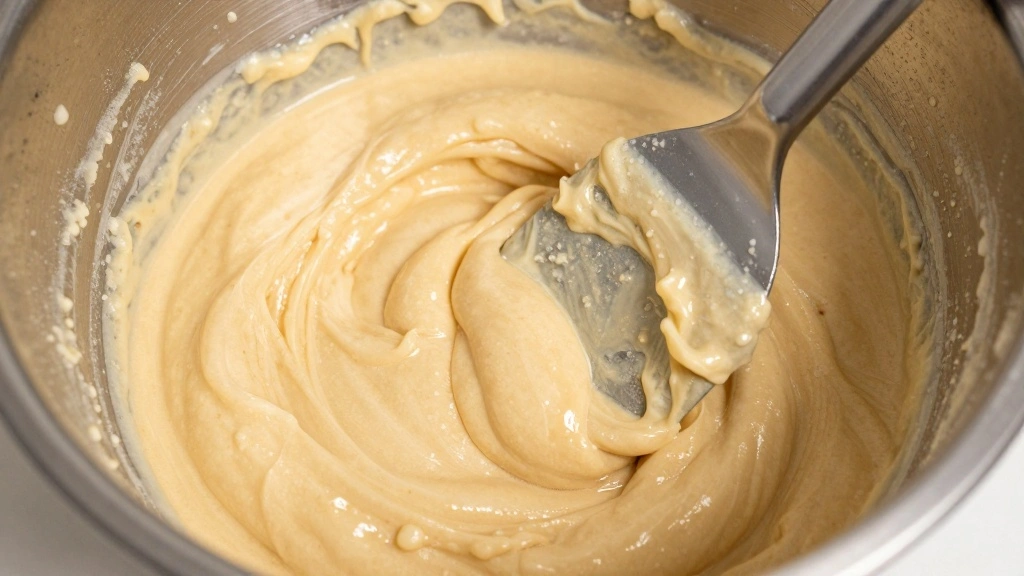
Pour the wet mixture into the bowl with the dry ingredients.
Gently fold the wet and dry ingredients together using a spatula.
Mix until just combined, with some small lumps remaining.
Overmixing can lead to tough pancakes, so handle the batter with care.
Recommended Products
Festive Kitchen Must Have:Surprise your loved ones with this Pancake Batter Dispenser Kit. With a 1000ml Pancake Mix Bottle, whisk, and brush, it’s a thoughtful Housewarming Gift for joyful mornings together

【 High Quality Batter Dispenser 】: Please note: The bottle is a container for mixing rather than storing the batter,the pancake Batter Dispenser bottle is made of food-grade PP and silicone materials, healthy, safe and reusable, and can withstand repeated squeezing. can withstand repeated compression and is not easily broken

【Pancake Mixer & Dispenser】 Crafted from BPA-free food-grade materials, our pancake batter bottle ensures safe, reusable performance. The reinforced structure withstands vigorous squeezing without cracking - perfect for repeated pancake batter dispensing


Step 5: Preheat Cooking Surface
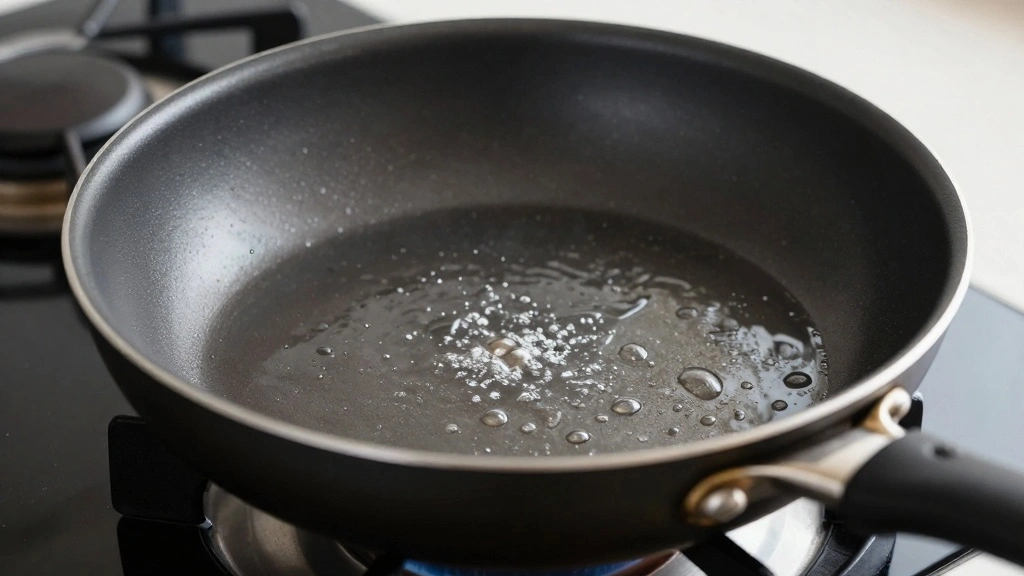
Place a non-stick skillet or griddle over medium heat and allow it to preheat.
Test the heat by sprinkling a few drops of water on the surface; they should sizzle gently.
Adjust the heat if necessary to maintain a steady temperature.
Proper heat ensures pancakes cook evenly without burning.
Step 6: Cook the Pancakes
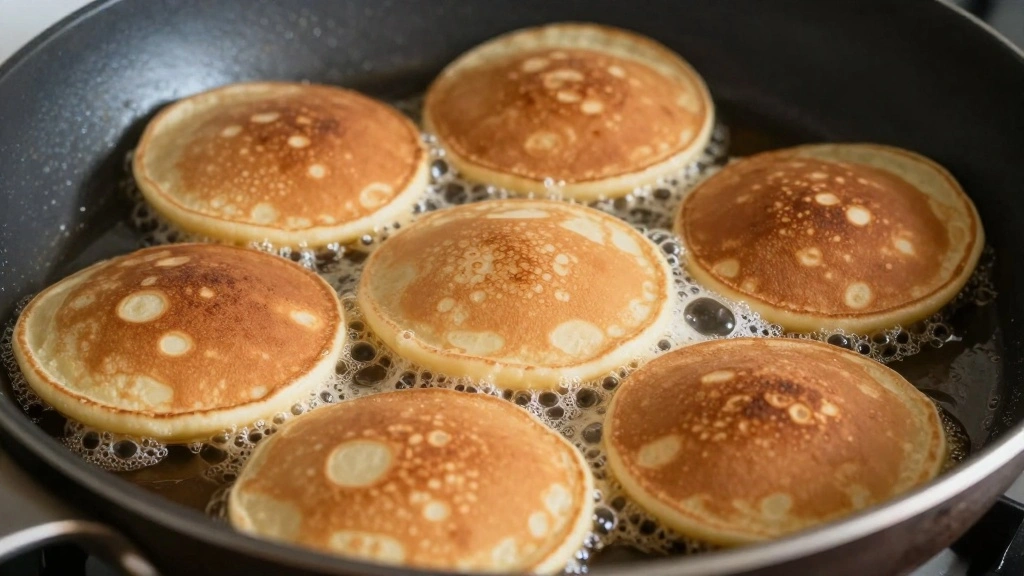
Using a ladle, pour a quarter cup of batter onto the preheated skillet for each pancake.
Cook the pancakes until bubbles form on the surface and the edges appear set.
Gently flip the pancakes and cook until the second side is golden brown.
Repeat with remaining batter, adjusting heat as needed.
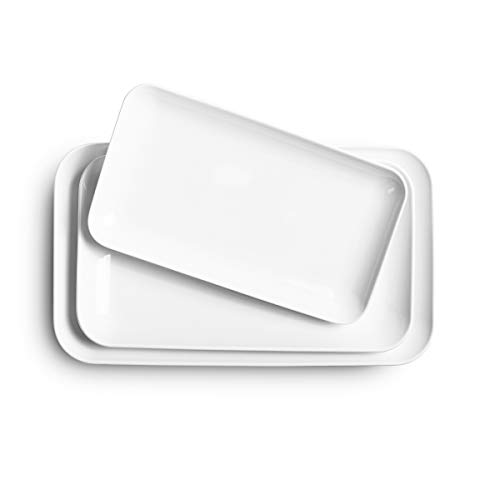
Step 7: Keep Pancakes Warm
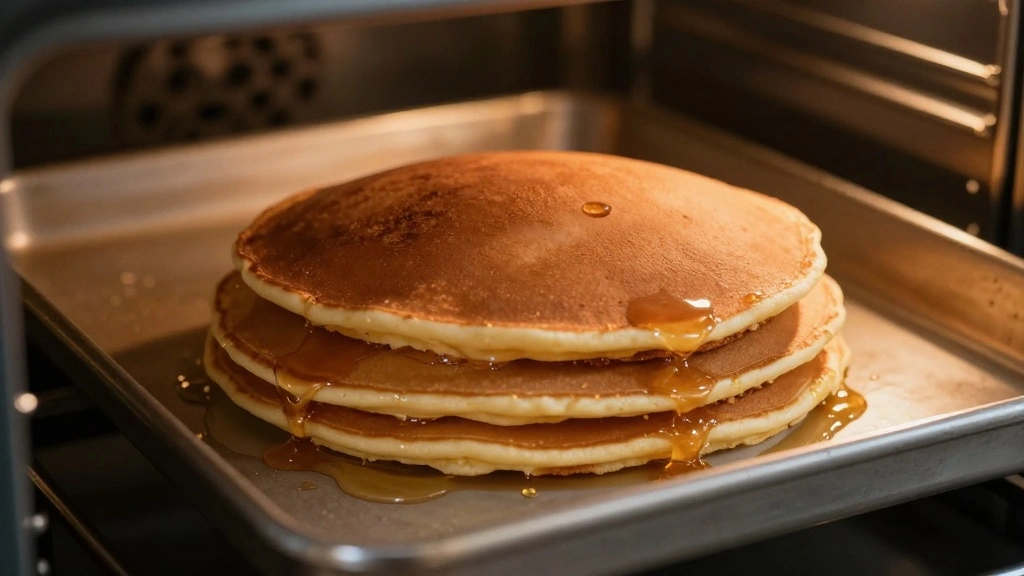
Transfer cooked pancakes to a baking sheet and keep warm in a preheated oven at a low temperature.
Stack pancakes in a single layer to prevent them from becoming soggy.
Repeat the cooking process until all batter is used.
This step ensures all pancakes are served hot and fresh.
Step 8: Serve and Enjoy
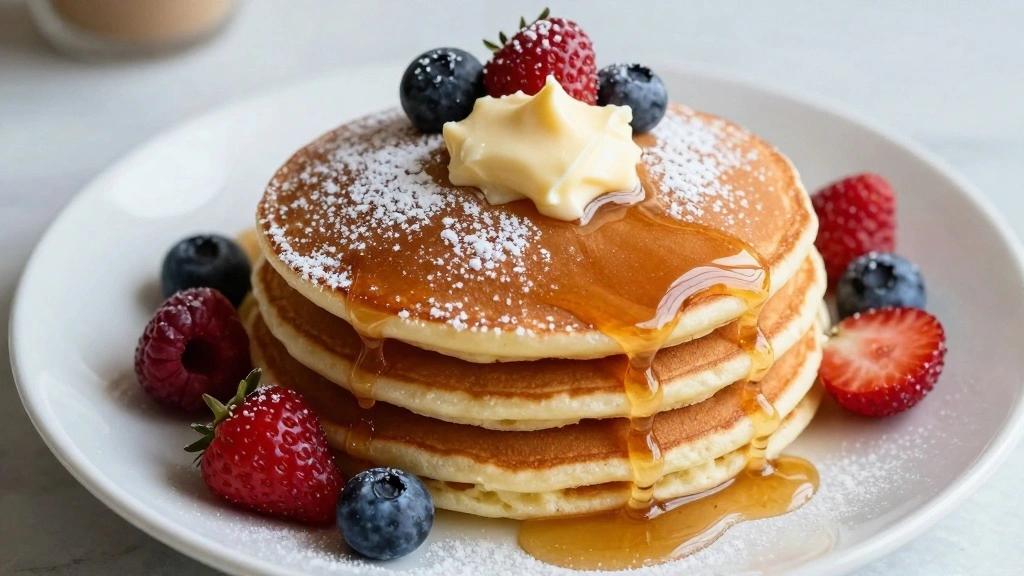
Remove pancakes from the oven and serve immediately with your favorite toppings.
Classic options include butter, maple syrup, or fresh fruit.
Consider garnishing with a dusting of powdered sugar for an extra touch.
Enjoy the pancakes while hot for the best flavor and texture.

Critical Timing and Temperature Guide
Mixing Batter: Mix until just combined, with small lumps remaining; overmixing can lead to dense pancakes.
Cooking Pancakes: Cook each pancake for about 2-3 minutes per side at medium heat; watch for bubbles and set edges as indicators.
Keeping Pancakes Warm: Maintain an oven temperature of 200°F to keep pancakes warm without drying them out.
Pro Tips for Cracker Barrel Pancake
• Ingredient Selection: Opt for high-quality buttermilk, as it imparts a tangy flavor and enhances fluffiness.
• Preparation Secret: Let the batter rest for 5-10 minutes before cooking to relax gluten and improve texture.
• Temperature Management: Ensure all ingredients, particularly eggs and buttermilk, are at room temperature for a smoother batter.
• Texture Enhancement: Use a light hand when mixing to avoid gluten development, which can make pancakes tough.
• Flavor Layering: Add a touch of vanilla extract to the wet ingredients for an extra depth of flavor.
• Make-Ahead Strategies: Prepare the dry mix in advance and store in an airtight container for quick assembly.
• Restaurant-Quality Finishing Touches: Serve with a pat of butter and a drizzle of warm maple syrup for a classic presentation.
• Equipment Optimization: If a non-stick skillet is unavailable, ensure a regular skillet is well-oiled and evenly heated.
Troubleshooting Common Issues
• Dense Pancakes: Caused by overmixing the batter; remedy by mixing until just combined and letting the batter rest.
• Uneven Cooking: Often due to inconsistent heat; maintain medium heat and adjust as necessary for even browning.
• Flat Pancakes: May result from insufficient baking powder or resting time; ensure fresh leavening agents and allow batter to rest.
• Burnt Pancakes: Typically from too high a heat; reduce the burner setting and monitor closely.
• Sticky Pancakes: Occurs with insufficient oiling of the pan; ensure the cooking surface is properly greased before each batch.
Variations and Regional Differences
• Southern Style: Often incorporates cornmeal for a heartier texture and is served with savory toppings like bacon.
• Buttermilk Variation: Uses extra buttermilk and a pinch of baking soda for an ultra-fluffy result.
• Whole Wheat Pancakes: Replaces all-purpose flour with whole wheat flour for a nuttier flavor and added fiber.
• Blueberry Pancakes: Adds fresh or frozen blueberries to the batter for bursts of fruity sweetness.
Food Science Behind the Recipe
• Leavening Reactions: Baking powder and soda produce carbon dioxide, causing the batter to rise and create fluffy pancakes.
• Protein Structure: Eggs provide structure by coagulating during cooking, holding the pancakes together.
• Maillard Reaction: The browning of pancakes occurs due to the Maillard reaction, enhancing flavor and color.
Frequently Asked Questions
What's the most common mistake people make when preparing Cracker Barrel Pancakes? Overmixing the batter, leading to tough pancakes, is a frequent error; mix until just combined.
Can I make the batter ahead of time? While it's best fresh, you can prepare the dry mix ahead and store it; combine wet ingredients just before cooking.
How do I ensure even cooking? Maintain a consistent medium heat and use a non-stick skillet to prevent sticking and ensure even browning.
What can I use instead of buttermilk? A mixture of milk and lemon juice or vinegar can substitute buttermilk, though the flavor may vary slightly.
How do I keep pancakes warm while cooking? Place them on a baking sheet in a 200°F oven to keep them warm without drying out.
What are some alternative toppings? Consider fresh fruit, whipped cream, or a sprinkle of cinnamon as delightful additions to traditional syrup and butter.
How do I store leftover pancakes? Refrigerate in an airtight container for up to two days, or freeze for longer storage; reheat in the oven or toaster.
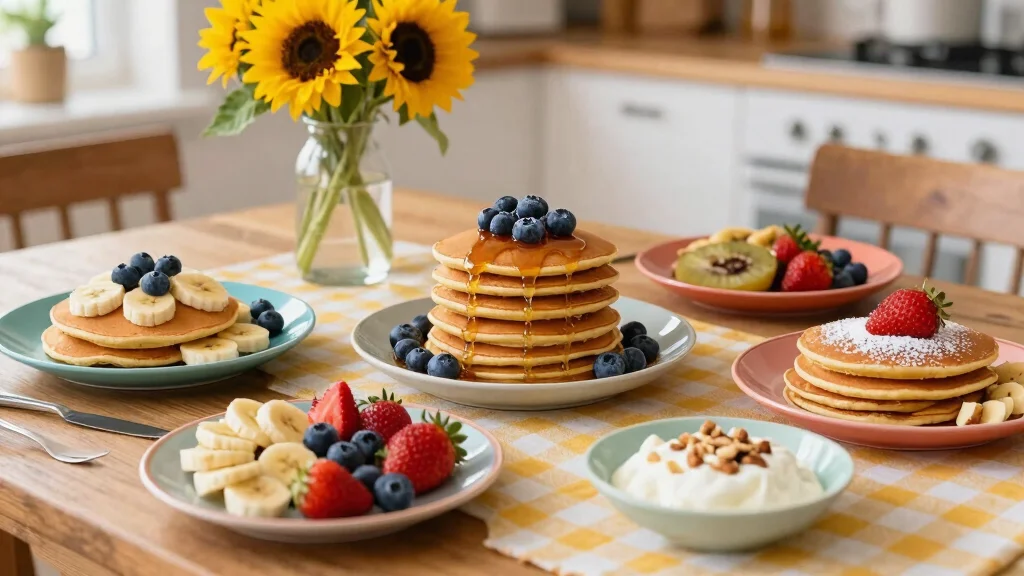
Serving and Presentation Guide
• Traditional Presentation: Stack pancakes neatly on a plate, topped with a pat of butter and a generous drizzle of maple syrup.
• Family-Style Serving: Arrange pancakes on a large platter with a variety of toppings like berries, nuts, and whipped cream for guests to choose from.
• Gourmet Touch: Garnish with edible flowers or a light dusting of powdered sugar for an elegant presentation.
• Casual Brunch: Serve with a side of crispy bacon or sausage for a hearty meal.


Conclusion
Recreating the iconic Cracker Barrel Pancake at home is an achievable delight that brings a touch of diner nostalgia to your kitchen.
With simple ingredients and careful techniques, you can enjoy fluffy, golden pancakes anytime.
I encourage you to try this recipe and share the joy of a classic breakfast with your loved ones.