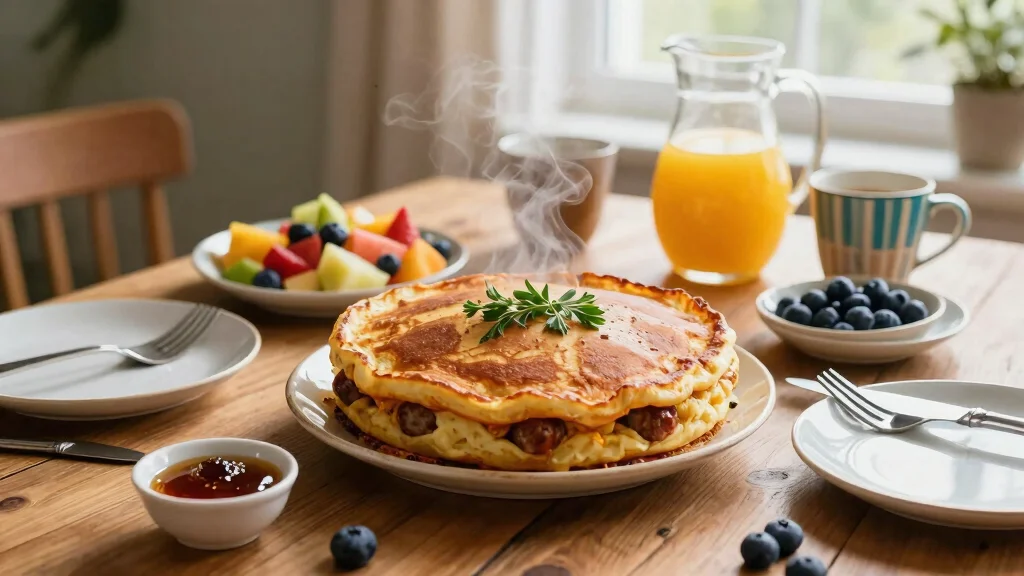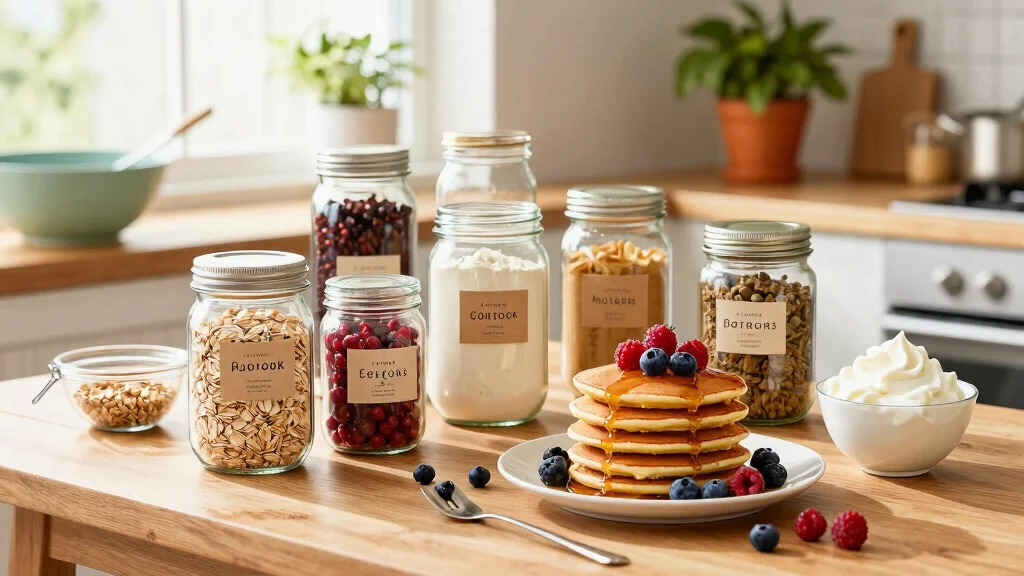

The allure of a perfect stack of buttermilk pancakes lies in their ability to transform a simple breakfast into a delightful experience.
With their irresistibly fluffy texture and golden hue, these pancakes promise to elevate your morning routine.
The tangy richness of buttermilk creates a delectable balance of flavors that pairs beautifully with syrup, fruit, or even a dollop of cream.
My fondness for this recipe began during cozy weekend brunches, where the aroma filled the kitchen and brought everyone together.
Whether you’re a pancake purist or love experimenting with toppings, this buttermilk pancake recipe is your key to breakfast bliss.
The History and Cultural Significance
• Buttermilk Pancake Recipe traces its origins to ancient Greece, where it was originally created as ‘tagenites’ by early cooks using simple ingredients.
• The dish evolved over decades as buttermilk was introduced, adding tanginess and helping create a lighter batter, eventually becoming the beloved version we know today.
• In American culture, this dish traditionally appears at weekend brunches and family gatherings, symbolizing warmth and togetherness.
• While many variations exist across different regions, the authentic version maintains a fluffy texture and tangy flavor that sets it apart from imitations.
Recommended Products

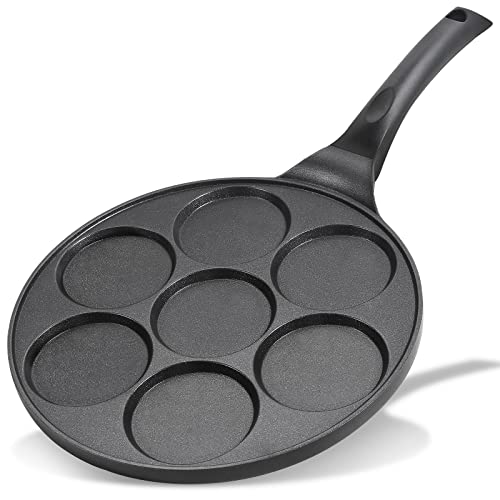
Eco-friendly Granite Non-Stick Material: Carote egg pancake pan with nonstick granite material. With 100% Free of PFOS, PFOA, our 4-Cup egg frying pan ensures your daily cooking is always safer and healthier.

[High-Quality Non-Stick Granite Coating] Crafted from eco-friendly nonstick granite material. Completely free from PFOS and PFOA, our egg frying pan guarantees a safe and healthier cooking experience.

Eco-friendly Granite Non-Stick Material: Carote egg pancake pan with nonstick granite material, With 100% Free of PFOS, PFOA, our 4-Cup egg frying pan ensures your daily cooking is always safer and healthier.


Recipe Overview
Recommended Products

The fastest, easiest way to make smooth batters for pancakes, waffles, crepes, and more. Simply add ingredients, toss in the BlenderBall, and shake; Winner of Good Housekeeping's 2021 Kitchen Gear Awards "Sweet Indulgences" - November 2021

BALLOON WHISK: This sophisticated charcoal gray silicone coated balloon whisk features thin springy wires with wide gaps that incorporate more air into your batters and whipped cream creating light fluffy textures every time you whisk ingredients together

Food-Grade Materials – Our pancake batter dispenser is made from PP and silicone, ensuring safety and durability. The reinforced design withstands repeated squeezing without cracking
Nutritional Information (per serving)
Recommended Products

【PERFECT BATTER DISPENSER】The batter dispenser is an essential baking tool for the kitchen. It is suitable for takoyaki balls, pancakes, crepes, muffin, cupcakes, waffles, chocolate balls, etc. Scientific pancake maker is very good at controlling the flow of liquids without wasting. It can easily and accurately dispense most batter, seasonings and icing, even pizza sauce

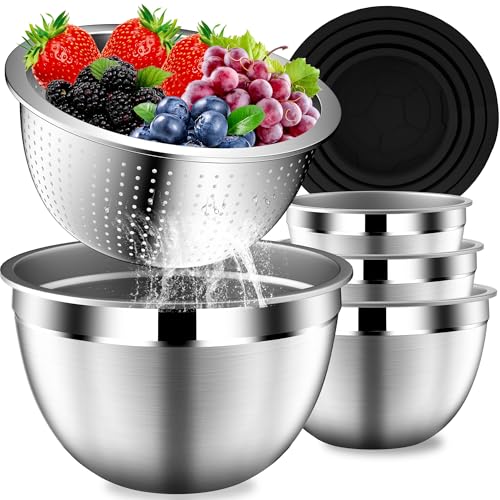
This classically designed set of batter bowl measuring cups features stoneware construction in 4 versatile hues

Make & make waffles, muffins, brownies and even pizza sauce, all paired perfectly with our dispensing valve, giving you marvelous versatility, allowing you to use your imagination and control how you cook your frying pans and waffles Baking mix on the iron. This pancake accessory also offers an easy-to-pull trigger handle system.


Essential Equipment Guide
Non-stick Skillet: A non-stick skillet is crucial for achieving perfectly golden pancakes without sticking. Alternatives like a griddle can work, but ensure it has a smooth, even surface for consistent cooking.
Whisk: A whisk is essential for mixing the batter to a smooth consistency, which prevents lumps that can affect texture. An electric mixer can be used, but be cautious not to over-mix.
Measuring Cups and Spoons: Accurate measuring tools are vital for balancing the ingredients properly, ensuring the batter’s consistency is just right. Look for sets with clear markings to avoid errors.
Recommended Products

NO MORE LOST BEATERS: The snap-on storage case that comes with the Hamilton Beach hand mixer neatly holds the 2 beaters and whisk in one easy-to-find place, reducing the chance that the attachments are lost or misplaced.
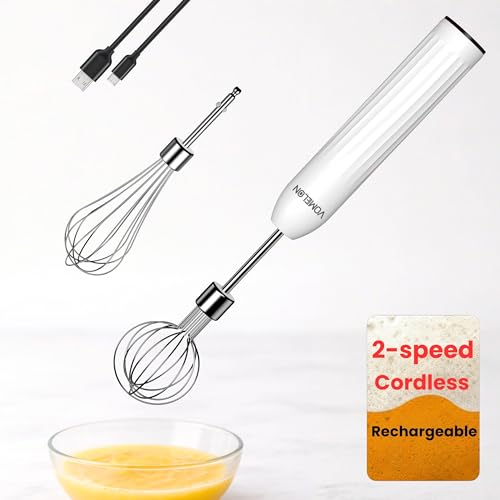
【Designed for Everyday Breakfast & Home Baking】 This handheld electric whisk is built for real daily use—quickly beat eggs for breakfast, mix pancake batter, or prepare small baking recipes without pulling out a large stand mixer. A compact tool that fits perfectly into busy home kitchens

【Reasonable Choice】 Comes with 5 stainless steel accessories, including 2 mixers, 2 dough hooks, 1 traditional whisk, can quick mixing cream, light dough, egg wash, etc., cakes, cookies, pizza can be finished, designed for baking beginners and enthusiasts, support for home and commercial use.


Ingredients
Recommended Products

EXTRA-LARGE COOKING SURFACE: The 10 x 20 inch indoor grill provides plenty of space to cook up big batches for a crowd or a complete meal.


Makes whipping up a warm batch of pancakes a cinch
For the Base
|
| Amount | Ingredient | Notes |
|---|---|---|
| 2 cups | all-purpose flour | sifted for light texture |
| 2 tablespoons | sugar | adds sweetness |
| 2 teaspoons | baking powder | helps pancakes rise |
| 1 teaspoon | baking soda | reacts with buttermilk for fluffiness |
| 1/2 teaspoon | salt | enhances flavor |
Wet Ingredients
| Amount | Ingredient | Notes |
|---|---|---|
| 2 cups | buttermilk | provides tangy flavor |
| 2 large | eggs | adds structure |
| 1/4 cup | unsalted butter | melted, adds richness |


Preparation Methods
Sifting Dry Ingredients: Sifting the flour and other dry ingredients ensures a light, airy batter by removing lumps and incorporating air.
Folding Technique: Folding the wet and dry ingredients gently is crucial to minimize gluten development, which keeps the pancakes tender.
Resting the Batter: Allowing the batter to rest for a few minutes helps the flour hydrate and the baking powder to activate, improving texture and rise.
Recommended Products
Healthy mini pancake pan: Children are our angels, and we need to provide protection for their health at all times. The non-stick coating used in our pan with PFOA free

Swiss Non-Stick Coating - Swiss ILAG nonstick granite coating. Free of Intentionally Added PFOA. Smokeless, safe & healthy. Cooking with little oil for healthy diet.
Swiss Non-Stick Coating - Swiss ILAG nonstick granite coating. Free of Intentionally Added PFOA. Smokeless, safe & healthy. Cooking with little oil for healthy diet.


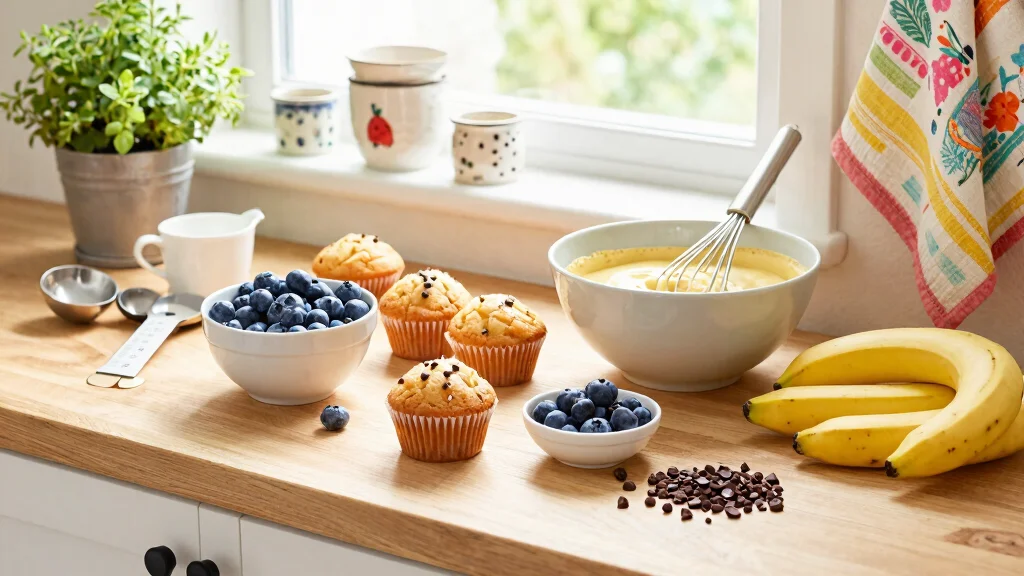
Step 1: Prepare Ingredients
Gather all ingredients and equipment needed for the recipe.
Measure out the dry and wet ingredients separately.
Ensure the butter is melted and slightly cooled.
Having everything ready will streamline the cooking process.
Recommended Products

Flat design: the steel flat whisk with a delicate shape is ideal for making sauces and pancakes; It features polished stainless steel wires and non-slip handles, fitting well in the palm of your hands and comfortable for your grip and control

Sturdy Food-Grade Stainless Steel Whisk for Long-Lasting Use: Hotec whisks are crafted from high-quality food-grade stainless steel, sturdy, lightweight, rust-proof and corrosion-resistant. Built-to-last construction keeps this kitchen whisk durable and always stays like new for daily home use and commercial baking scenarios
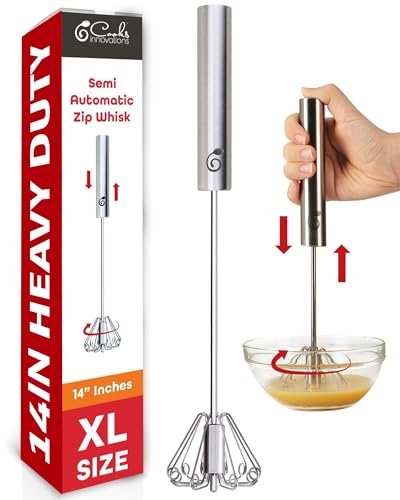
QUICK AND EASY: Our stainless steel semi-automatic whisk is super fast and ultra-easy to use. To rotate the head on our easy whisk, simply push down and release up. Both of these actions will rotate our semi automatic whisk clockwise and then counterclockwise.


Step 2: Sift Dry Ingredients
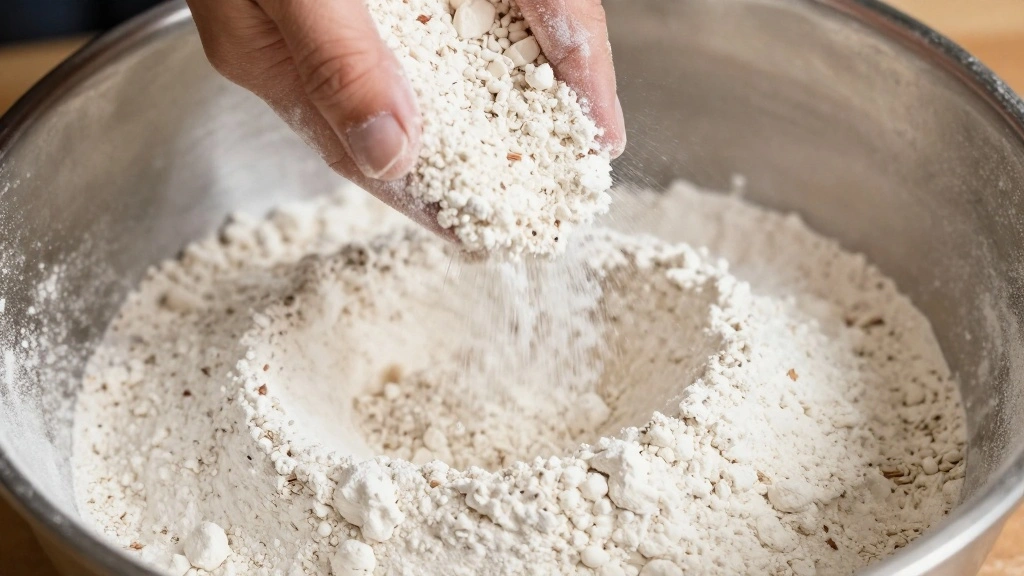
Place a sifter over a large mixing bowl.
Add the flour, sugar, baking powder, baking soda, and salt to the sifter.
Sift the ingredients together to ensure they are well combined and free of lumps.
Sifting adds air to the mixture, which helps create a lighter batter.
Recommended Products

[Multiple Sizes]: Including 4 Measuring cups ( 1/4, 1/3, 1/2, 1 cup), 6 Measuring spoons (1/8, 1/4, 1/2 , 1 tsp, 1/2, 1 tbsp). Meet All Your Needs On Cooking And Baking

[Multiple Sizes]: Including 5 Measuring cups (1/8, 1/4, 1/3 , 1/2 , 1 cup), 5 Measuring spoons (1/4, 1/2 , 1 tsp, 1/2, 1 tbsp). Meet All Your Needs On Cooking And Baking.

Food-Graded Material: Our muffins cake separator dispensers are made from food graded pp. Safe, durable and easy to clean. Giver you accurate portion with measuring marks. Meanwhile you will get a bonus of small scraper spatula and brush. It is a great baking tool when you make batter.


Step 3: Combine Wet Ingredients
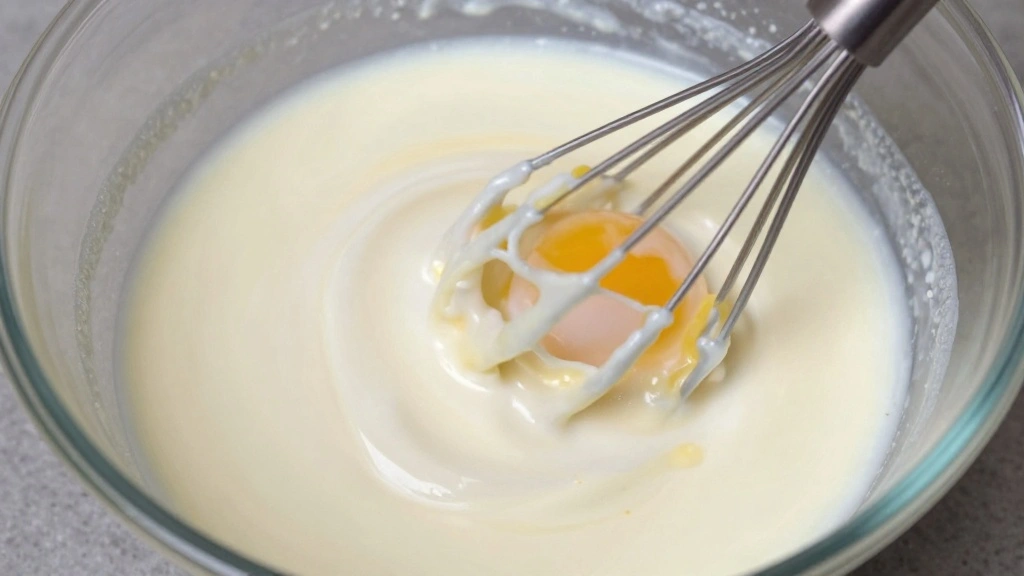
In a separate bowl, whisk together the buttermilk and eggs until fully combined.
Slowly pour in the melted butter while continuing to whisk.
Ensure the mixture is smooth and the ingredients are evenly incorporated.
The emulsification of the wet ingredients is key to a uniform batter.
Recommended Products

The fastest, easiest way to make smooth batters for pancakes, waffles, crepes, and more. Simply add ingredients, toss in the BlenderBall, and shake; Winner of Good Housekeeping's 2021 Kitchen Gear Awards "Sweet Indulgences" - November 2021


Step 4: Mix Wet and Dry Ingredients
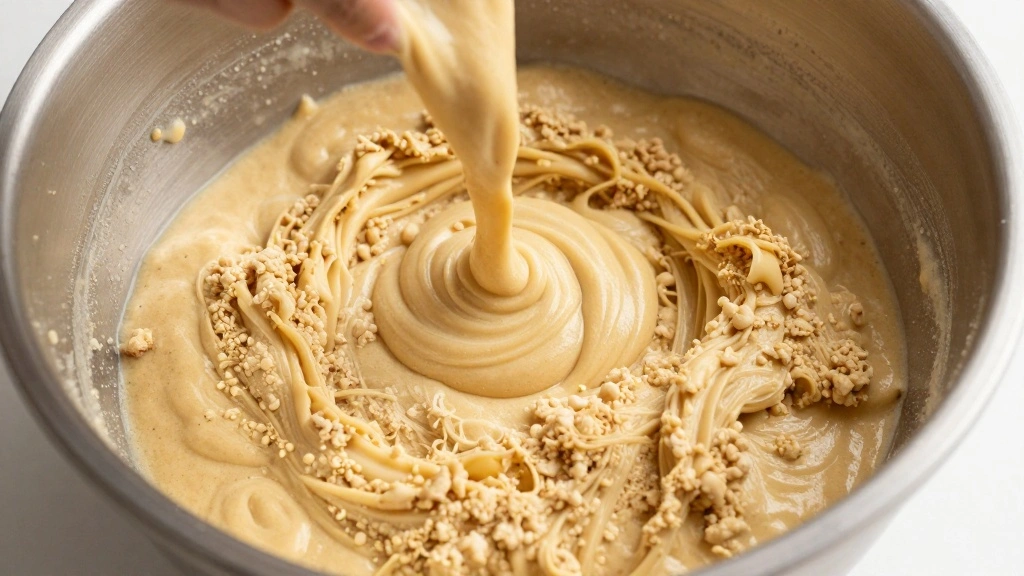
Create a well in the center of the dry ingredients.
Pour the wet ingredients into the well.
Gently fold the mixtures together using a spatula, being careful not to over-mix.
The batter should be slightly lumpy for optimal pancake texture.
Recommended Products

Great for a fast breakfast

This 16 oz pancake mix makes twenty-two 4" pancakes and includes directions to make 6, 12, or 22 pancakes or waffles; to make delicious pancakes, just add water.
Step 5: Rest the Batter
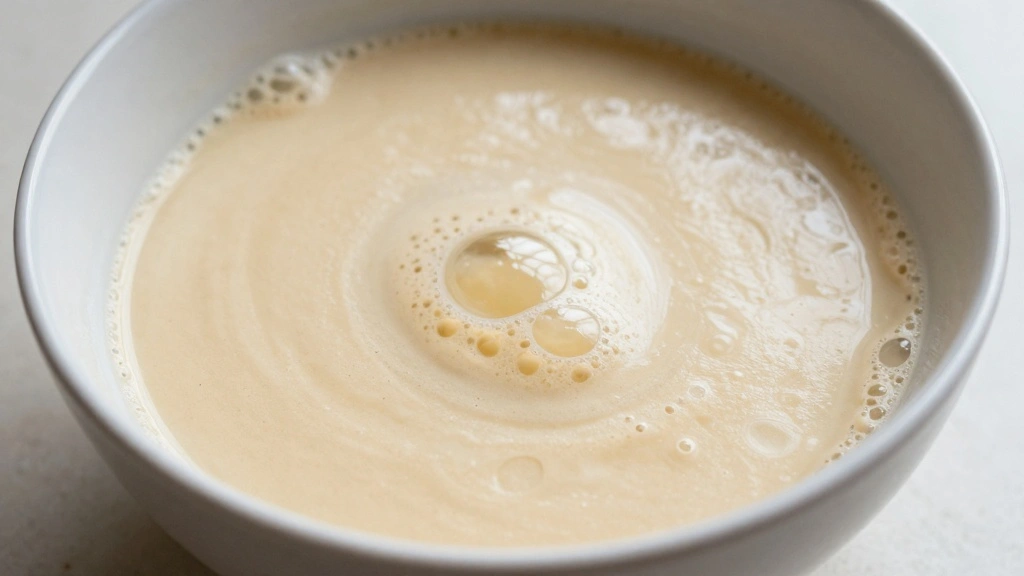
Let the batter rest for about 5 minutes.
This allows the flour to fully hydrate and the leavening agents to activate.
Resting the batter ensures fluffier pancakes with a better rise.
Avoid stirring the batter after it has rested.


Step 6: Preheat the Skillet
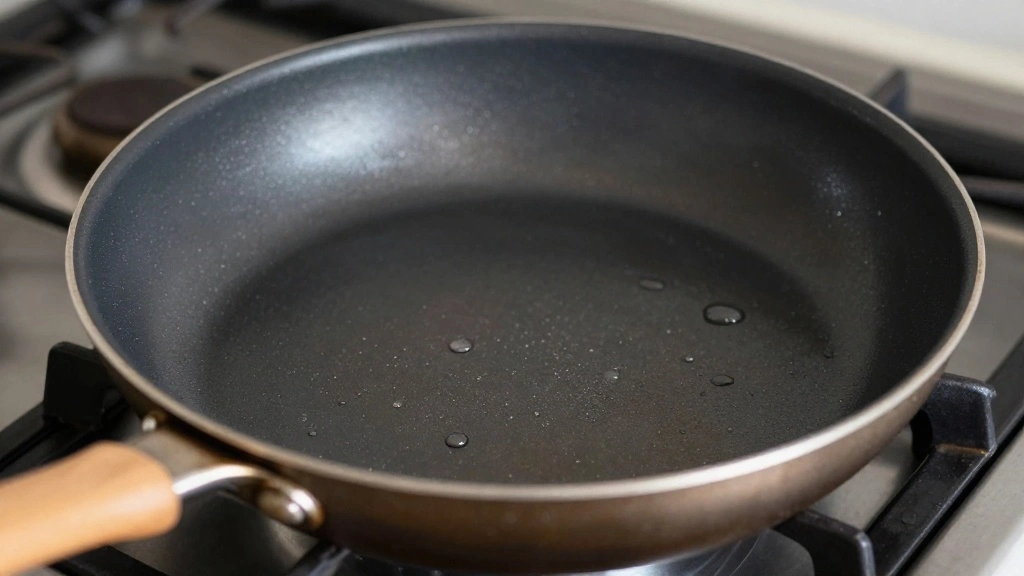
Place a non-stick skillet on the stove over medium heat.
Allow it to heat for a few minutes until hot.
A properly heated skillet is essential for even cooking and a golden crust.
Test the heat by flicking a drop of water onto the skillet; it should sizzle.
Step 7: Cook the Pancakes
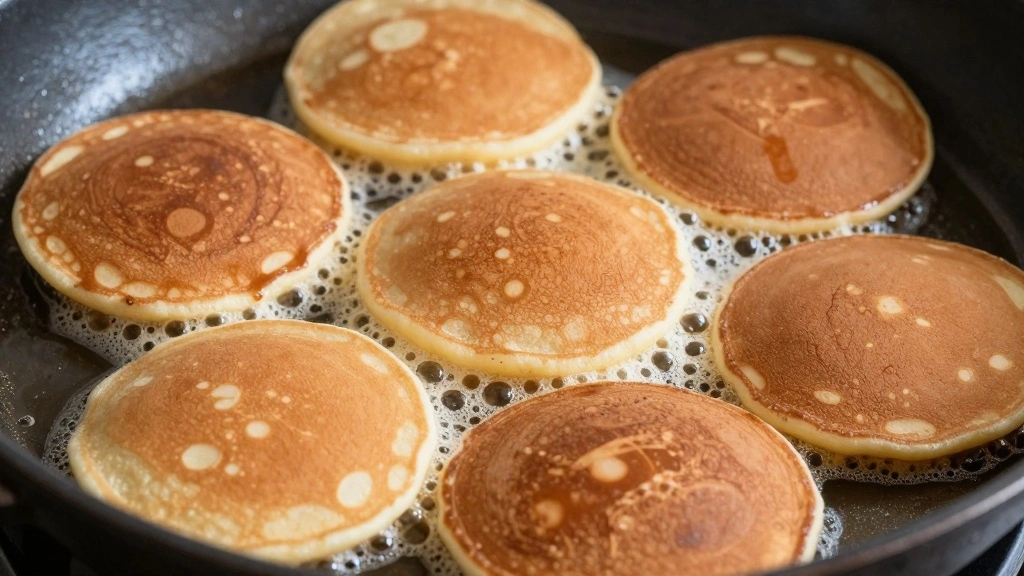
Lightly grease the skillet with a small amount of butter or oil.
Pour 1/4 cup of batter onto the skillet for each pancake.
Cook until bubbles form on the surface and the edges appear set.
Flip carefully and cook until the other side is golden brown.
Step 8: Serve and Enjoy
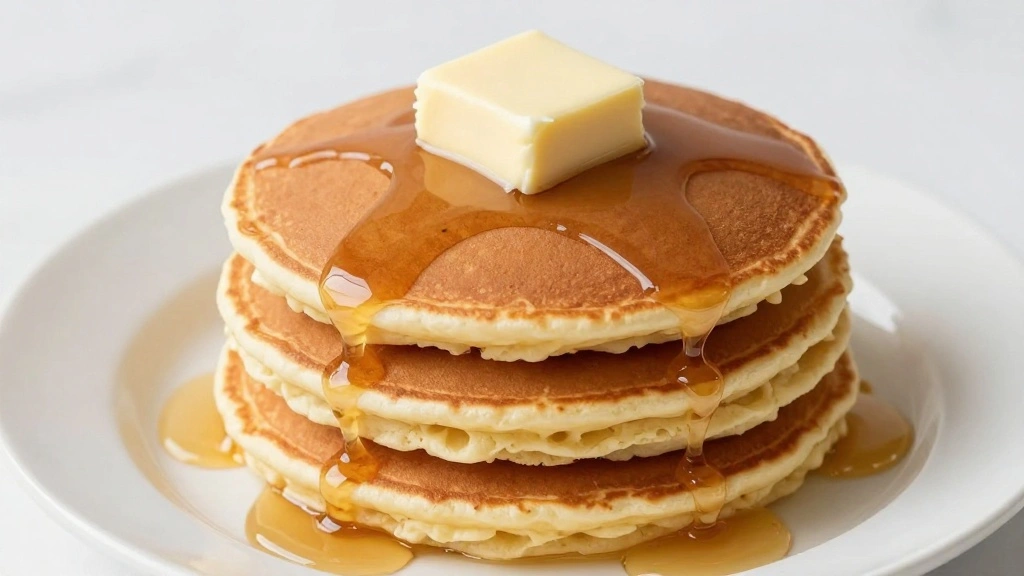
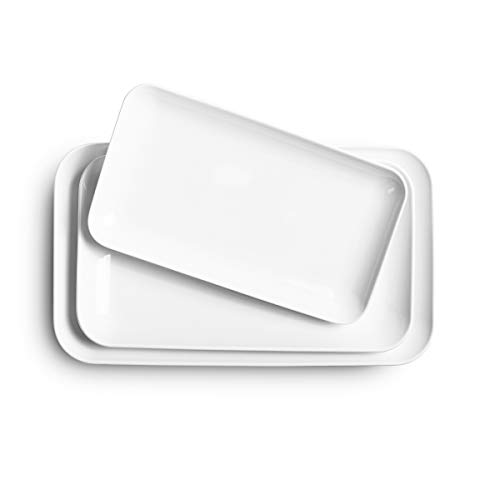
Transfer the cooked pancakes to a serving plate.
Top with your choice of syrup, fruit, or butter.
Serve immediately while hot for the best texture and flavor.
Enjoy your tall, fluffy, golden pancakes with loved ones.

Critical Timing and Temperature Guide
Mixing Batter: Mix for 1-2 minutes until just combined; look for a lumpy texture. Over-mixing leads to dense pancakes.
Cooking Pancakes: Cook each side for 2-3 minutes over medium heat; look for bubbles and set edges before flipping. Avoid too high heat which can burn the outside while leaving the inside undercooked.
Resting Batter: Rest for 5 minutes to hydrate flour and activate leavening agents. Skipping this step can result in flat pancakes.
Pro Tips for Buttermilk Pancake Recipe
• Ingredient Selection: Use fresh, high-quality buttermilk for the best flavor and rise; its acidity is crucial for activating the baking soda.
• Preparation Secret: Letting the batter rest enhances its rise and texture, a step often skipped by home cooks.
• Temperature Management: Ensure the skillet is hot enough to sizzle water droplets for the perfect golden crust.
• Texture Enhancement: Avoid over-mixing the batter to retain air bubbles that keep pancakes light and fluffy.
• Flavor Layering: Add a splash of vanilla extract to the batter for added depth of flavor without overpowering the buttermilk tang.
• Make-Ahead Strategies: Prepare dry and wet ingredients separately the night before, then combine in the morning for fresh pancakes quickly.
• Restaurant-Quality Finishing Touches: Top with a dollop of whipped cream and fresh berries for an upscale presentation.
• Equipment Optimization: Use a large skillet or griddle to cook multiple pancakes simultaneously without crowding.
Troubleshooting Common Issues
• Texture Too Dense: Caused by over-mixing the batter, which develops gluten. Prevent by folding ingredients gently until just combined.
• Pancakes Burn Quickly: Heat is too high; reduce to medium and monitor closely. Use a non-stick skillet to prevent sticking.
• Uneven Cooking: Skillet not preheated properly; ensure it's evenly hot before adding batter. Rotate pan if needed for even heat distribution.
• Flat Pancakes: Skipping the resting step can lead to flat pancakes; rest the batter for at least 5 minutes.
• Flavor Lacks Depth: Insufficient salt or missing vanilla extract can lead to bland taste. Ensure proper seasoning and flavoring.
Variations and Regional Differences
• American Style: Classic buttermilk pancakes with a touch of vanilla extract, often served with maple syrup and butter.
• Swedish Pancakes: Thinner and more crepe-like, often served with lingonberries and dusted with powdered sugar.
• Japanese Souffle Pancakes: Known for their ultra-fluffiness, achieved by folding whipped egg whites into the batter.
• Whole Wheat Variation: Substitute half of the all-purpose flour with whole wheat flour for a nuttier flavor and denser texture.
Food Science Behind the Recipe
• Role of Buttermilk: The acidity of buttermilk reacts with baking soda, creating carbon dioxide bubbles that help pancakes rise.
• Gluten Development: Over-mixing increases gluten formation, leading to tougher pancakes. Folding gently prevents this.
• Heat Transfer: Proper skillet preheating ensures even cooking, crucial for achieving a golden brown crust without overcooking the interior.
Frequently Asked Questions
What's the most common mistake people make when preparing buttermilk pancakes? Over-mixing the batter, leading to dense and flat pancakes due to excessive gluten development.
Can I substitute regular milk for buttermilk? Yes, but the results may differ; add a tablespoon of lemon juice or vinegar to the milk as a substitute for the acidity.
Why are my pancakes not fluffy? Insufficient resting time or batter is too thin; ensure proper hydration and thickness for fluffiness.
How do I store leftover pancakes? Allow them to cool, then store in an airtight container in the fridge for up to 3 days, or freeze for longer storage.
Can I make the batter ahead of time? Yes, but it's best to keep wet and dry ingredients separate until ready to cook to maintain leavening effectiveness.
What toppings go well with buttermilk pancakes? Classic maple syrup and butter, fresh fruits, whipped cream, or even savory toppings like bacon.
How do I prevent the pancakes from sticking? Ensure the skillet is well-greased and properly heated before adding the batter.
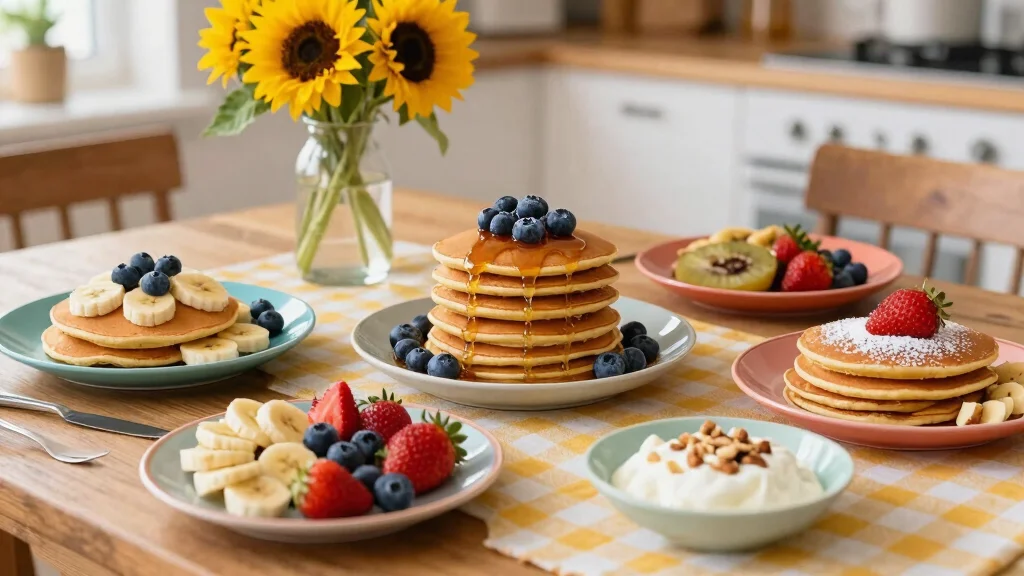
Serving and Presentation Guide
• Traditional Presentation: Serve pancakes stacked with a pat of butter on top and a drizzle of maple syrup cascading down the sides.
• Rustic Style: Plate pancakes with a side of fresh berries and a dusting of powdered sugar for a natural, inviting look.
• Elegant Brunch Display: Arrange pancakes on a large platter, alternating with layers of fruit and whipped cream, garnished with mint leaves.
• Kids' Delight: Use cookie cutters to shape pancakes into fun designs, served with a variety of toppings for a playful twist.
Conclusion
Embrace the joy of a leisurely breakfast with this classic buttermilk pancake recipe.
Its simplicity and rich flavors promise to delight every palate around your table.
Whether for a special occasion or a cozy morning at home, these pancakes are sure to become a favorite.
So gather your ingredients, heat the skillet, and enjoy the perfect stack of pancakes.